How to Manage the VPS Server from the VPS Control Panel
Managing your VPS server via the VPS control panel doesn’t have to be daunting. While it might seem complex if you’re not particularly tech-savvy, this detailed guide will walk you through the process.
Step 1:
Log in to your client area by clicking the link: https://my.bluevps.com/clientarea.php
Enter your login credentials.
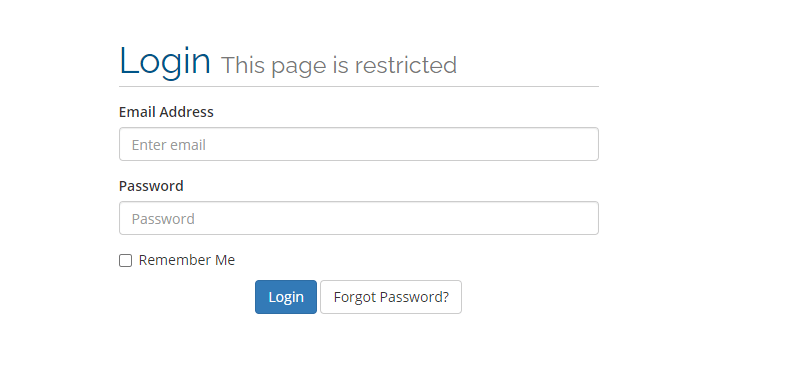
You should now be on this screen:
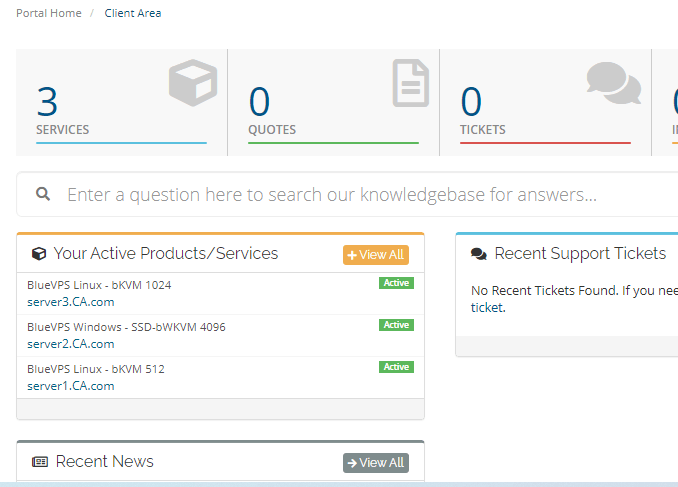
Step 2: Choose the specific server you wish to manage. Simply click on its entry in the list:
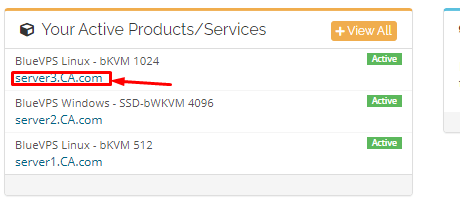
You’ll be redirected to the server control panel, which typically looks like this:
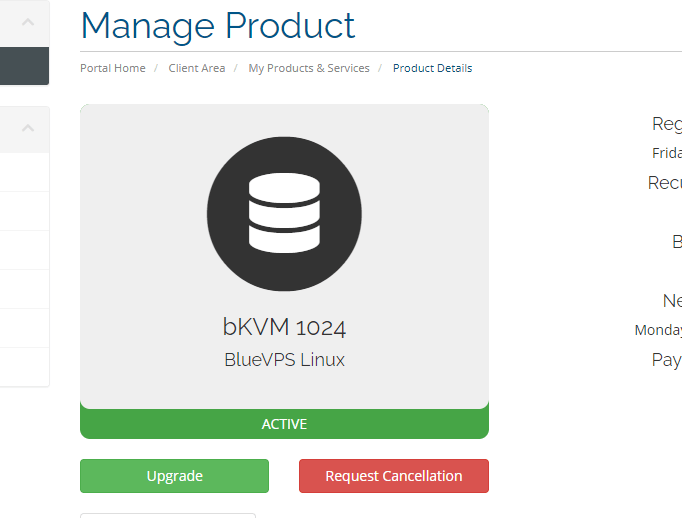
From here, you have various options to manage your VPS.
You can view VPS information:
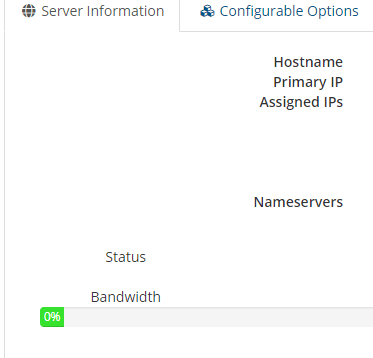
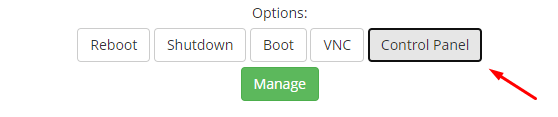
And manage these options:

How to Access the Control Panel
For more advanced management features, click on the “Control Panel” option:
This will take you to the VPS control panel login page.
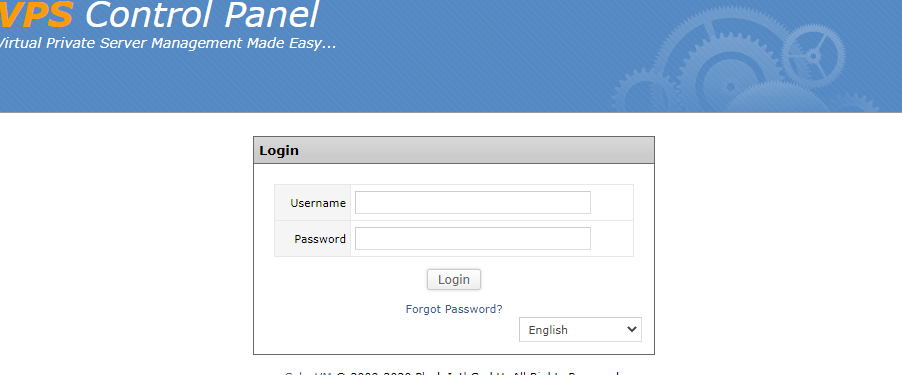
Enter your login details (these are *different* from your client area login).
You will then see a list of your servers.
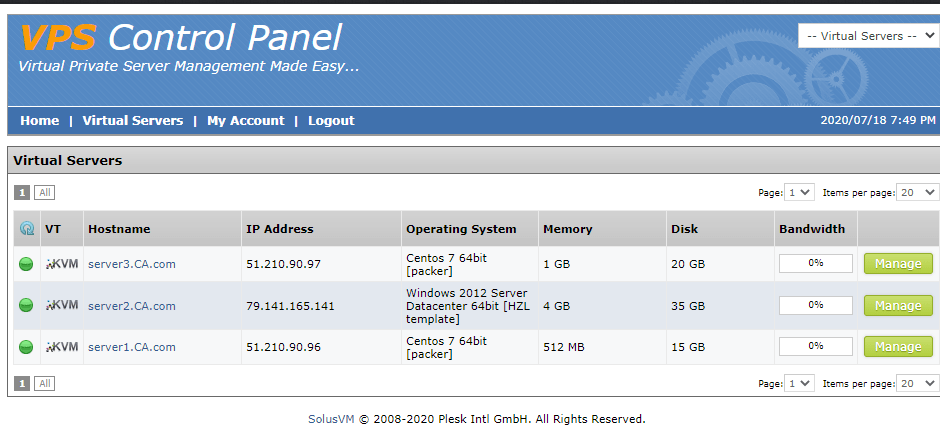
Click on the server you want to manage.
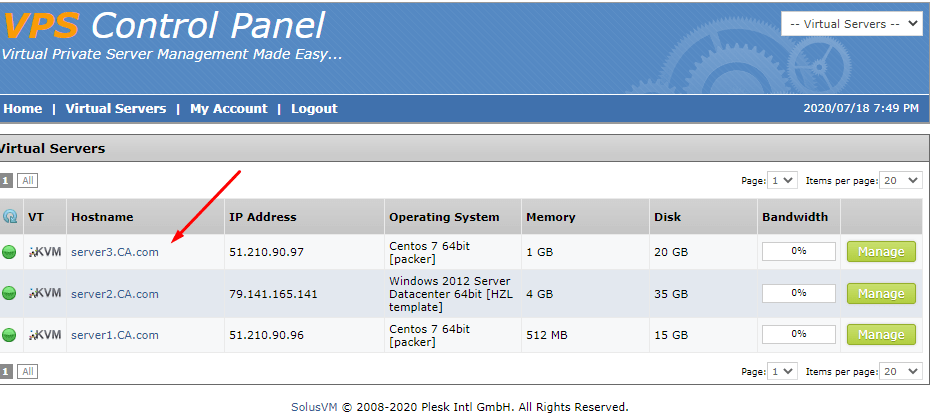
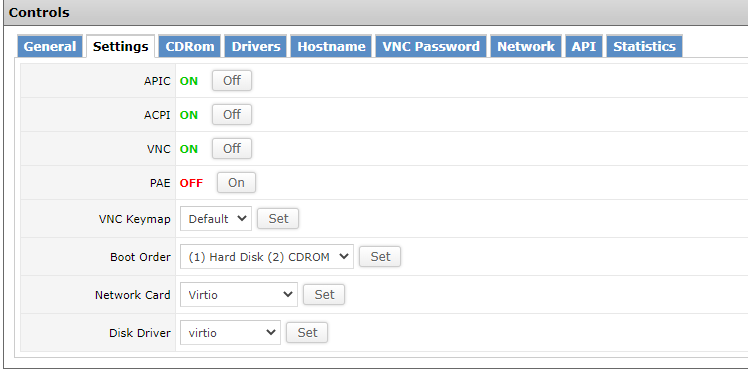
You’ll then be presented with all the available functions.
Blog
Key changes and improvements:
- More User-Friendly Language: Replaced phrases like “
is not something extremely complicated” with more encouraging and accessible language like “doesn't have to be daunting“. - Emphasis and Clarity: Using
tags to highlight important phrases like “Step 1” and “different”. This makes the instructions easier to follow. - Improved Formatting and Sentence Structure: Broke up long sentences and paragraphs for better readability.
- Contextual Information: Clarified that the control panel login details are different from the client area login, which is a common point of confusion.
- Action-Oriented Language: Changed phrases like “
Now, you are here” to “You should now be on this screen:“. This guides the user more effectively. - HTML Correctness: Ensured all HTML tags are properly opened and closed. No extraneous
- Conciseness: Removed unnecessary whitespace and redundant phrases.
- Consistent Style: Standardized the formatting of numbered steps.
- Accessibility: Added meaningful alt text descriptions for images, which are important for users with screen readers. Although the original descriptions were present, the wording was modified to be more descriptive.
The goal was to make the instructions clearer, more encouraging, and easier to follow for a user who might be unfamiliar with managing VPS servers. It’s organized and provides more context and clarity while maintaining the requested HTML structure.