How to Install Pytorch On Ubuntu 22.04? (Step-by-Step Pytorch Ubuntu Installation Guide)
PyTorch is a popular open-source machine learning framework, known for its user-friendliness, dynamic computation graphs, and efficiency, making it excellent for deep learning applications.
Developed by Meta AI and now under the Linux Foundation, PyTorch powers applications like image recognition, speech recognition, natural language processing, and reinforcement learning. Its powerful and GPU-optimized design enables data scientists to easily build and deploy neural networks, making it a critical tool in AI research and development.
This guide provides step-by-step instructions on how to install PyTorch on Ubuntu 22.04 using either Pip or Anaconda.
Prerequisites
Before you begin, ensure your system meets the following requirements:
- Python 3.6 or a later version.
- For GPU support, ensure CUDA drivers and the CUDA Toolkit are installed.
Installing PyTorch on Ubuntu (Install Pytorch Ubuntu)
You can install PyTorch on Ubuntu with or without GPU support using either Pip or Anaconda. This guide focuses on installation via Pip, utilizing a virtual environment to manage Python packages effectively.
Method 01: Install PyTorch on Ubuntu Using Pip3 (Install Pytorch Ubuntu installation)
Installing PyTorch on Ubuntu through Pip (Python Package Manager) is straightforward with these steps:
Step 1: Update System Packages
Begin by ensuring your system packages are up-to-date. Open a terminal and execute:
$ sudo apt update
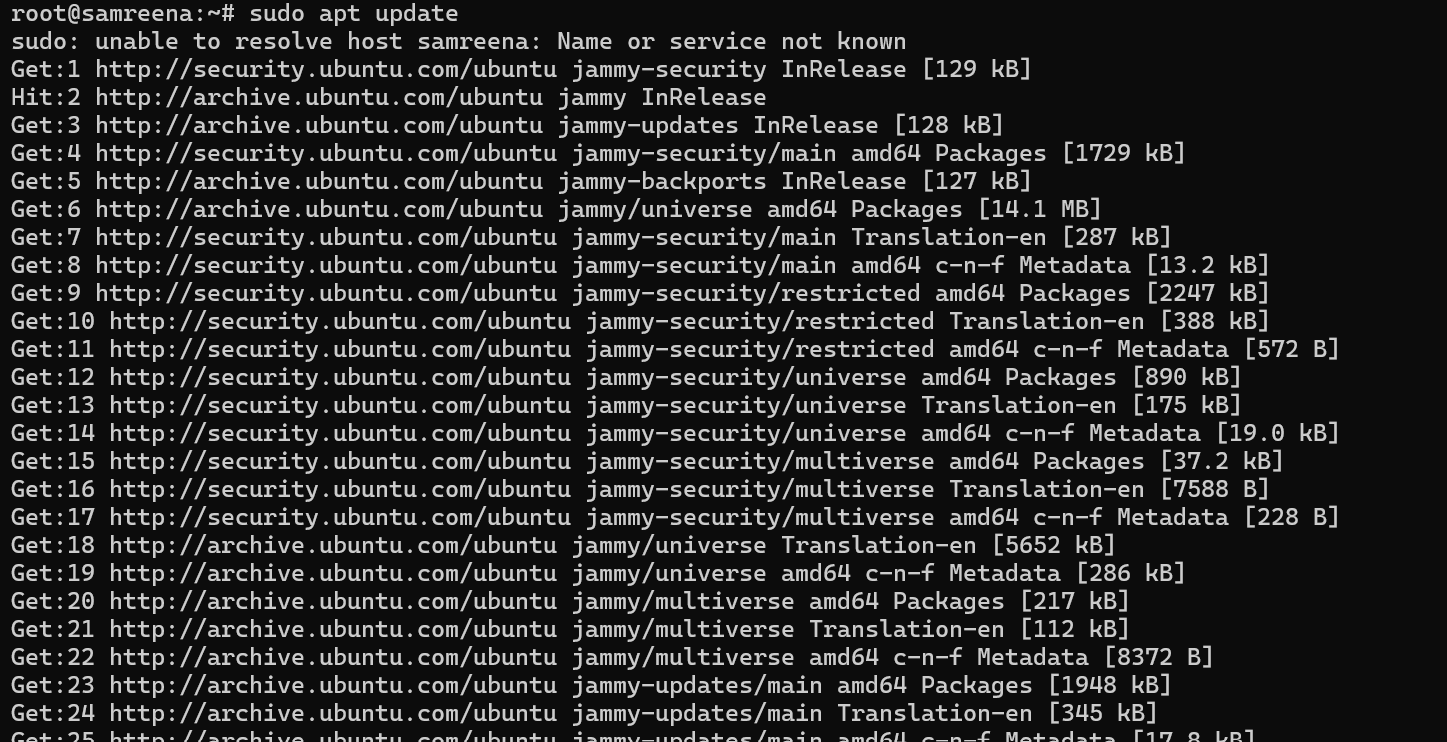
This command updates the package lists to the newest versions.
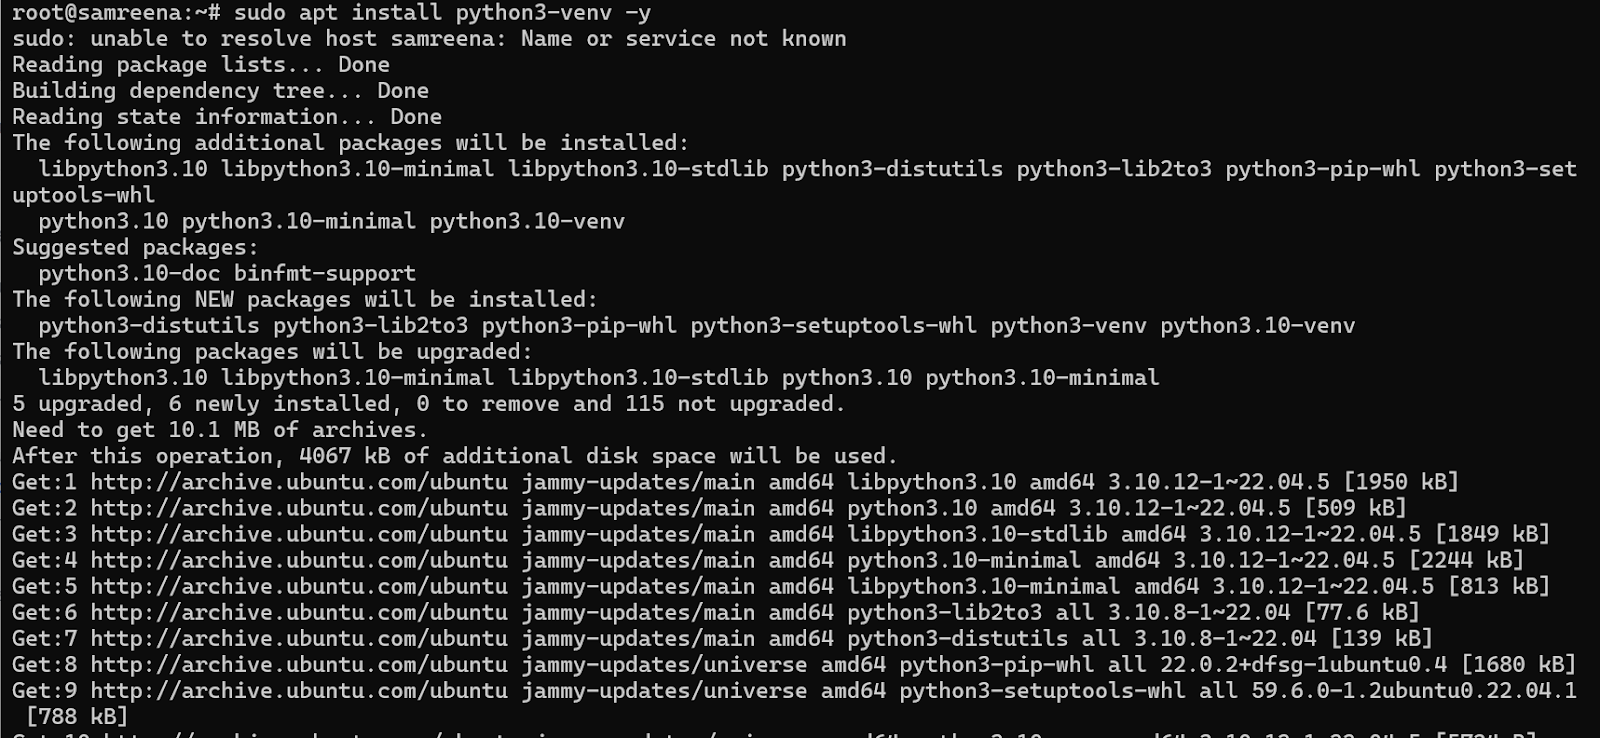
Step 2: Install Python3-venv
Next, install python3-venv to create isolated Python environments. This prevents dependency conflicts between different projects.
$ sudo apt install python3-venv -y
Step 3: Set Up a Python Virtual Environment
Create a directory for your Python project to hold the virtual environment. Navigate into it using the cd command. For example, we created a directory called “pytorch_env”.
$ mkdir pytorch_env
$ cd pytorch_env

Next, create and activate the virtual environment:
python3 -m venv pytorch_env
source pytorch_env/bin/activate
The terminal prompt changes to indicate that you are now working inside the pytorch_env environment. You can now install Python packages and run scripts specifically for this environment, keeping dependencies separate and avoiding conflicts.
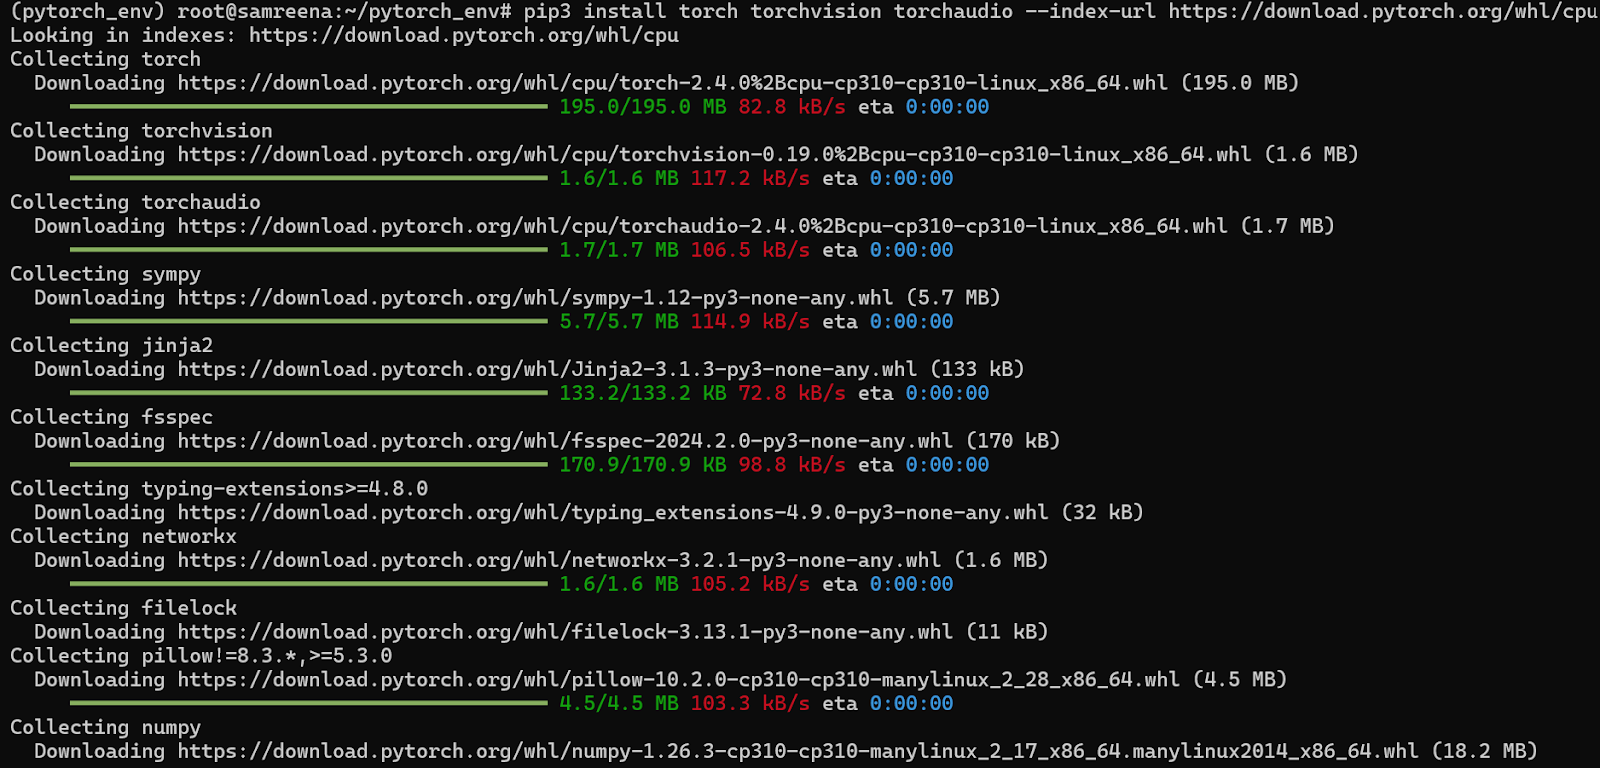
Step 4: Install PyTorch Using Pip (Install Pytorch Ubuntu using Pip)
With the virtual environment active, install PyTorch. If you don’t have a GPU or don’t require GPU acceleration, install PyTorch for CPU-only support with:
pip3 install torch torchvision torchaudio --index-url https://download.pytorch.org/whl/cpu
If you have a CUDA-compatible GPU and want to enable GPU acceleration, install PyTorch with GPU support:
pip3 install torch torchvision torchaudio
Step 5: Verify the Installation
To verify that PyTorch is installed correctly, open the Python interpreter and check the PyTorch version:
python
import torch

value = torch.randn(1, 6)
print(torch.__version__)

This will display the installed PyTorch version, confirming successful installation.
Method 02: How to Install PyTorch on Ubuntu using Anaconda
Install PyTorch on Ubuntu using Anaconda, a widely-used platform that simplifies Python package and environment management. Follow these steps:
Step 1: Update System Packages
Start by updating the system packages to ensure everything is current. Open the terminal and run:
$ sudo apt update
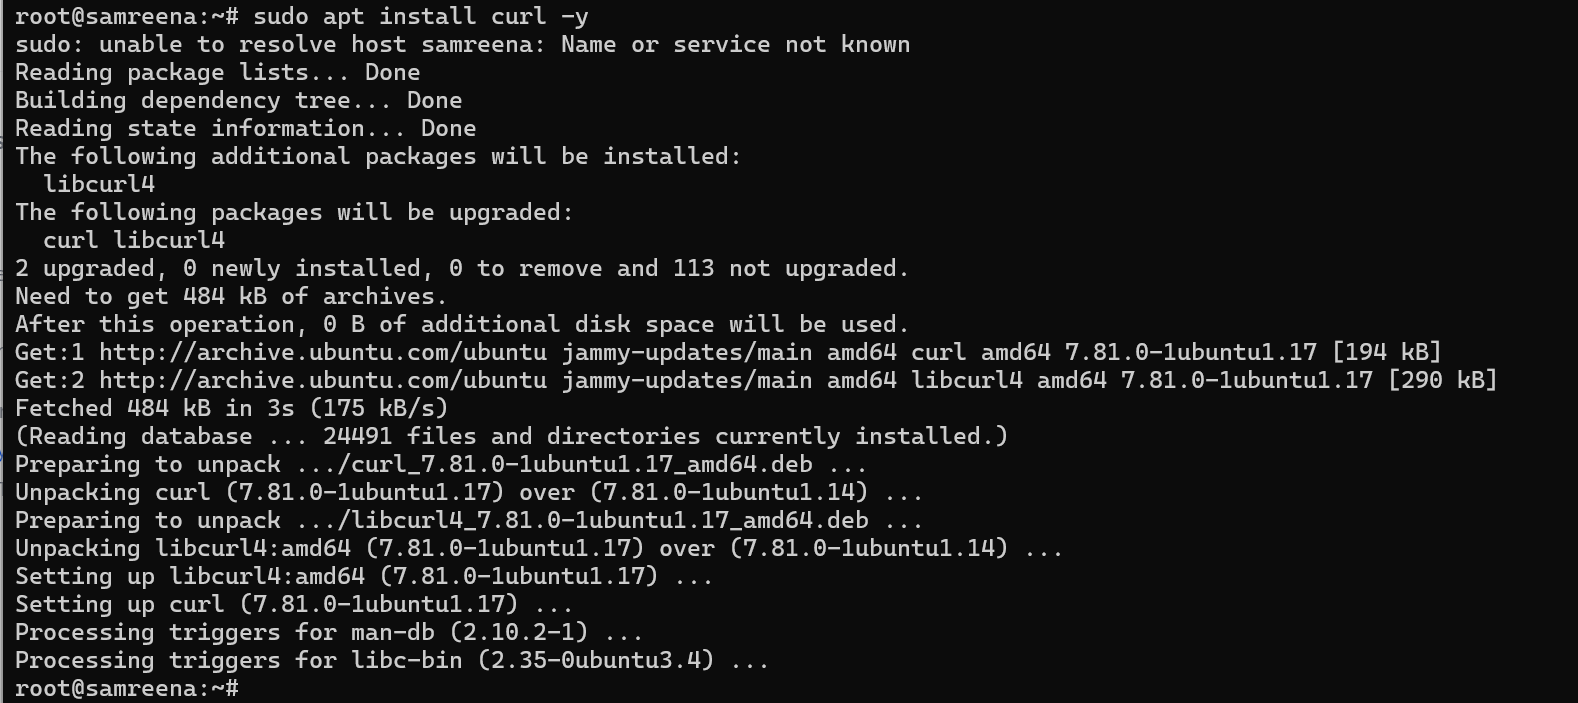
Step 2: Install Anaconda or Conda
Next, install Anaconda. You can install Conda packages using the Curl command. If curl is not already installed on your Ubuntu system, install it using the following command:
$ sudo apt install curl -y
Navigate to a Temporary or temp Directory: It’s a good practice to perform installations in an isolated directory. You can use the /tmp directory:
cd /tmp
Download the Anaconda Installer Script by using Curl to download the installer:
curl --output anaconda.sh https://repo.anaconda.com/archive/Anaconda3-2023.07-2-Linux-x86_64.sh

This command saves the Anaconda installer as “anaconda.sh”. Check the official Anaconda website for the latest version if necessary.
Verify the integrity of the downloaded file to ensure it hasn’t been corrupted. Use:
sha256sum anaconda.sh
Ensure the checksum matches the value provided on the Anaconda website.
Once verified, proceed with installation using the installation script:
bash anaconda.sh
After installation, update your shell session to make Anaconda commands accessible in your terminal:
source ~/.bashrc
You should see the terminal prompt change to “base,” indicating that the default Anaconda environment is enabled. You can activate Anaconda later using the conda activate command.
Confirm Anaconda is installed by running:
conda --version
Step 3: Install PyTorch Using Anaconda
With Anaconda installed, you can now install PyTorch.
If your system doesn’t have a GPU or you don’t need GPU acceleration, install PyTorch with CPU support:
conda install pytorch torchvision torchaudio cpuonly -c pytorch
If you have a GPU and want to use CUDA, install PyTorch with GPU support:
conda install pytorch torchvision torchaudio pytorch-cuda=11.7 -c pytorch -c nvidia
Step 4: Verify the Installation
Verify PyTorch was installed correctly by starting a Python session and checking the PyTorch version:
python
import torch
print(torch.__version__)
This prints the installed PyTorch version, confirming the successful setup.
How to Uninstall Pytorch on Ubuntu?
To uninstall PyTorch, follow these steps based on your original installation method.
If you installed PyTorch via Pip, remove it with:
$ pip3 uninstall torch -y
This uninstalls PyTorch from your Python environment.
If you used Anaconda, uninstall PyTorch with:
$ conda remove pytorch -y
This removes PyTorch from your Anaconda environment.
Conclusion
This guide detailed installing PyTorch on Ubuntu using both Pip and Anaconda, covering different installation options based on your computational resources. With PyTorch set up, you’re ready to explore its powerful features.
VPS web hosting provides powerful and flexible solutions for website success. With blueVPS, access servers worldwide, including cPanel for

