How to Install Node.js on Ubuntu 22.04: Step-by-Step Guide
Node.js is a popular, free, and open-source JavaScript runtime environment. It’s essential for modern web development, offering a powerful platform for building and deploying web applications.
NPM (Node Package Manager) is crucial for managing Node.js packages and libraries. This open-source repository provides a vast collection of packages specifically designed for Node.js, allowing developers to avoid building applications from scratch. Integrating NPM with Node.js is standard practice for efficient development workflows. You can install Node.js on Windows, Linux, and Mac OS.
This tutorial will guide you through installing Node.js on Ubuntu 22.04 using various methods. We’ll also cover how to uninstall it.
Prerequisites
You’ll need a running Ubuntu 22.04 server and appropriate user privileges (root or sudo with root privileges).
Methods to Install Node.js on Ubuntu 22.04
You can install Node.js on Ubuntu 22.04 using these methods:
1. Install Node.js using the Ubuntu apt repository
2. Install Node.js using NVM (Node Version Manager)
3. Install Node.js from NodeSource
4. Install Node.js using Snap
Let’s explore each method in detail with complete steps:
Method 01: Installing Node.js Using the Ubuntu Apt Repository
This method installs Node.js from the official Ubuntu apt repository. It’s simple and easy, but it often installs an older version of Node.js. If you’re okay with an older version, follow these steps:
Step 1: Update Ubuntu Apt Repositories
It’s always a good practice to update your system’s apt repositories before installing any new software:
$ sudo apt update
$ sudo apt upgrade
Step 2: Install Node.js on Ubuntu 22.04
Install Node.js using the following command:
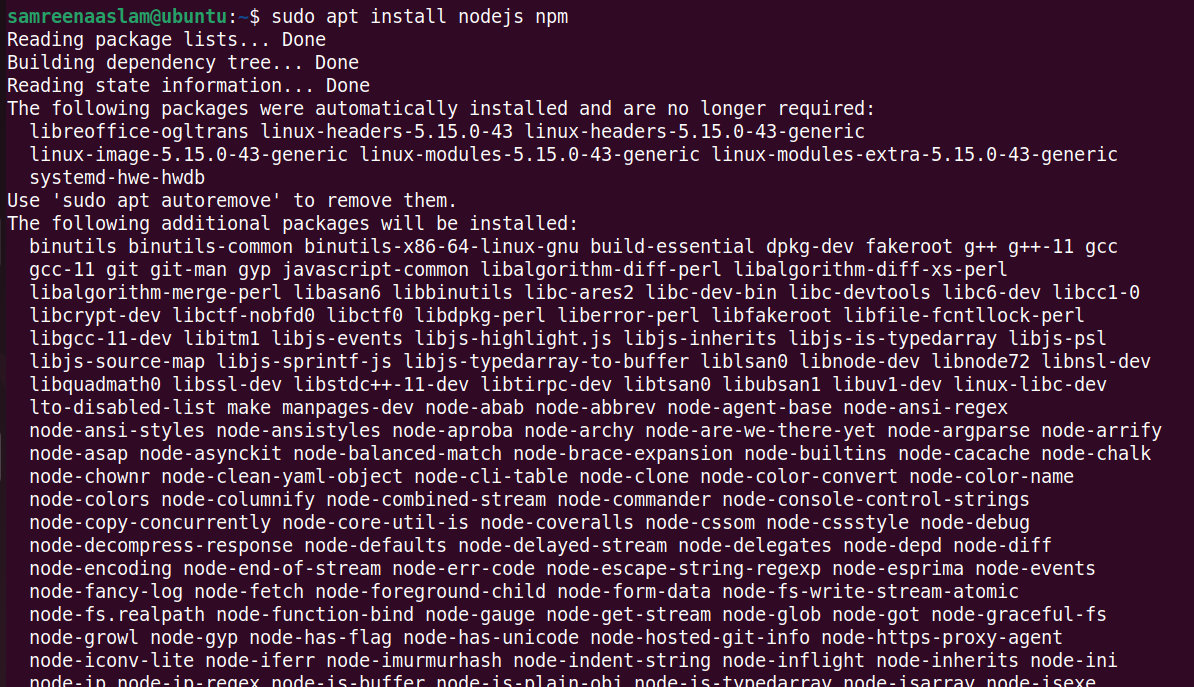
Confirm any prompts during the installation process. This will install both Node.js and npm (Node Package Manager).
Step 3: Check the Node.js Version
Verify the installation by checking the Node.js version:
$ nodejs --version
This command displays the installed Node.js version. Note that this method usually installs an older version. Check the npm version using:
$ npm --version
Method 02: Install Node.js Using NVM (Node Version Manager)
NVM is a powerful tool that allows you to manage multiple Node.js versions on your system. You can install different versions and easily switch between them based on project requirements.
NVM is compatible with Linux distributions and macOS. While it doesn’t natively support Windows, you can use “nvm-windows” for a similar experience.
Here’s how to install Node.js using NVM on Ubuntu 22.04:
Step 1: Run the NVM Installer
NVM is a bash script, so you can use it to install specific Node.js and NPM versions. Download the NVM installer using these commands:
$ sudo apt install curl
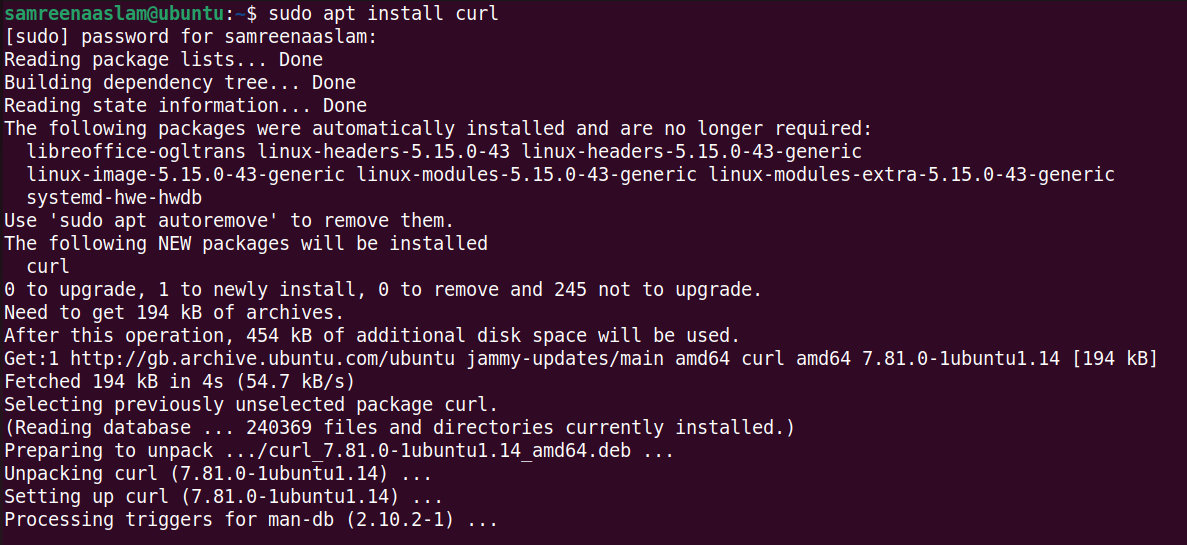
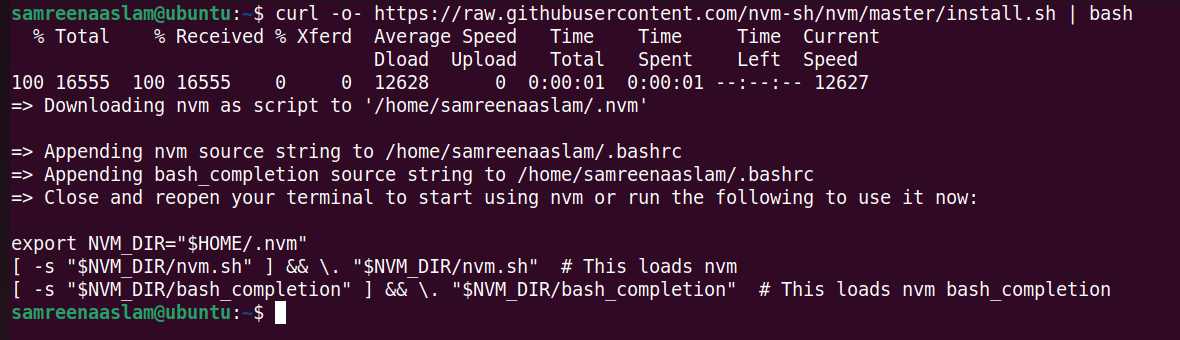
$ curl -o- https://raw.githubusercontent.com/nvm-sh/nvm/v0.39.1/install.sh | bash
Or
$ wget -qO- https://raw.githubusercontent.com/nvm-sh/nvm/v0.39.1/install.sh | bash
This command downloads and executes the NVM installation script.
Step 2: Activate the NVM Script
After installation, restart your terminal or run this command to load the NVM environment:
$ source ~/.bashrc
Step 3: List NVM Node Versions
List all available Node.js versions that you can install using NVM:
$ nvm ls-remote
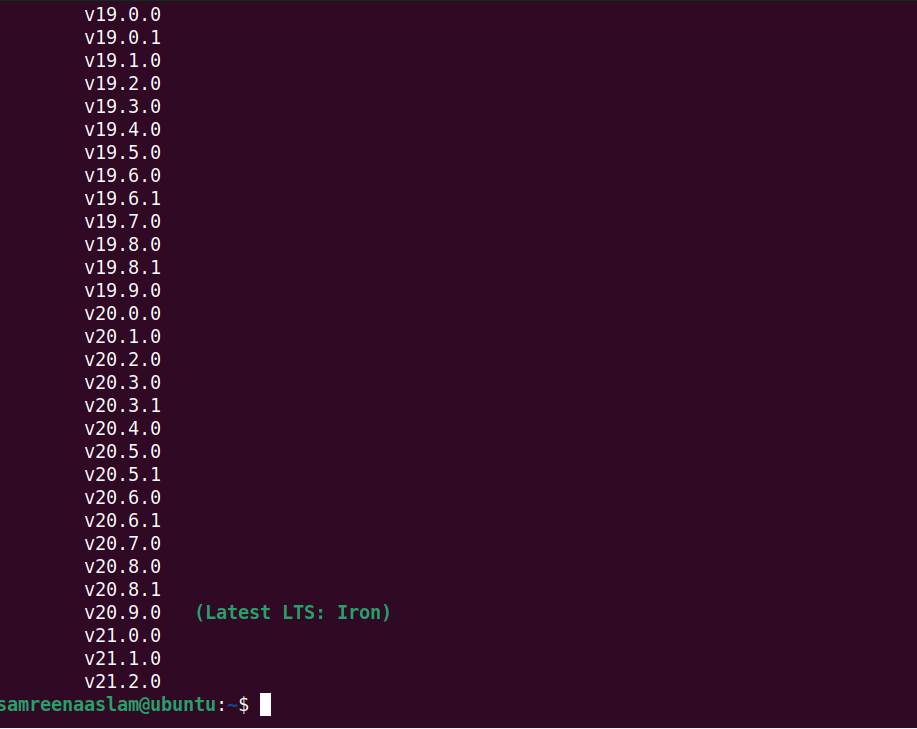
Step 4: Install Node.js Using NVM
Install the latest LTS (Long Term Support) version of Node.js:
$ nvm install –lts
To install a specific version, specify the version number:
$ nvm install v20.9.0

Step 5: Verify Node.js Installation
Verify the installation by checking the Node.js and NPM versions:
$ node --version
$ npm –version

Method 03: Install Node.js from NodeSource
If you want the latest Node.js version, installing from the NodeSource repository is recommended. This repository provides the most recent releases, including the latest features, bug fixes, and improvements. Follow these steps:
Step 1: Add NodeSource Repository
Add the NodeSource repository to your system:
$ curl -fsSL https://deb.nodesource.com/setup_<version>.x | sudo -E bash -
Replace <version> with the desired Node.js version.
Step 2: Install Node.js on Ubuntu 22.04
Install Node.js using apt:
$ sudo apt install nodejs
Check the installed version:
$ node --version
Method 04: Install Node.js using Snap
Install the stable Node.js version using Snap:
$ sudo snap install node --classic
To install the latest (potentially unstable) Node.js version:
$ sudo snap install node --channel=latest/edge --classic
Test the Node.js Installation on Ubuntu 22.04
To make sure Node.js and NPM are working correctly, create a simple JavaScript test program. For example, create a file and add the following code:
console.log(“Hello World”);

Save the file with a “.js” extension (e.g., testprogram.js). Then, run the file using Node.js:
$ node testprogram.js

How to Uninstall Node.js from Ubuntu 22.04
If you no longer need Node.js, you can easily uninstall it using:
$ sudo apt remove nodejs npm
To remove all configurations and associated files:
$ sudo apt purge nodejs npm
These commands will remove Node.js and NPM from your Ubuntu system.
Conclusion
This tutorial covered installing Node.js on Ubuntu 22.04 using various command-line methods. Node.js provides a versatile runtime environment that can be easily set up on a Linux VPS server.
NPM simplifies the installation of Node.js packages and modules. If you have any questions or encounter problems, please leave a comment for assistance.

