How to connect to Windows using RDP on Mac
Connecting to Windows from a Mac used to be a challenge, but thanks to Microsoft’s Remote Desktop Protocol (RDP) client available on the App Store, it’s now a straightforward process. If you have macOS 10.10 or later, you can easily access Windows machines remotely.
RDP Explained
Remote Desktop Protocol (RDP) is a Microsoft protocol that enables users to connect to and control a remote computer over a network. It provides a graphical interface, allowing you to use the remote machine as if you were sitting right in front of it, complete with mouse and keyboard control. Remote desktop connection can be initiated from Windows XP onwards.
While RDP is primarily associated with Windows, Microsoft has developed a client for macOS, allowing Mac users to connect to Windows machines.
RDP follows a client/server architecture. The RDP client runs on your Mac, and the RDP server runs on the Windows machine you’re connecting to.
Keep in mind that Windows 10 typically allows only one active RDP session at a time. If another user tries to connect, the existing session will be disconnected. For multiple simultaneous RDP connections, consider using a Windows Server version, but note that after the first 2 connections you will need to pay Microsoft.
Step-by-step guide on how to connect to Windows from macOS
Since macOS doesn’t have a built-in RDP client, you’ll need to download the Microsoft Remote Desktop app from the App Store. Here’s a step-by-step guide:
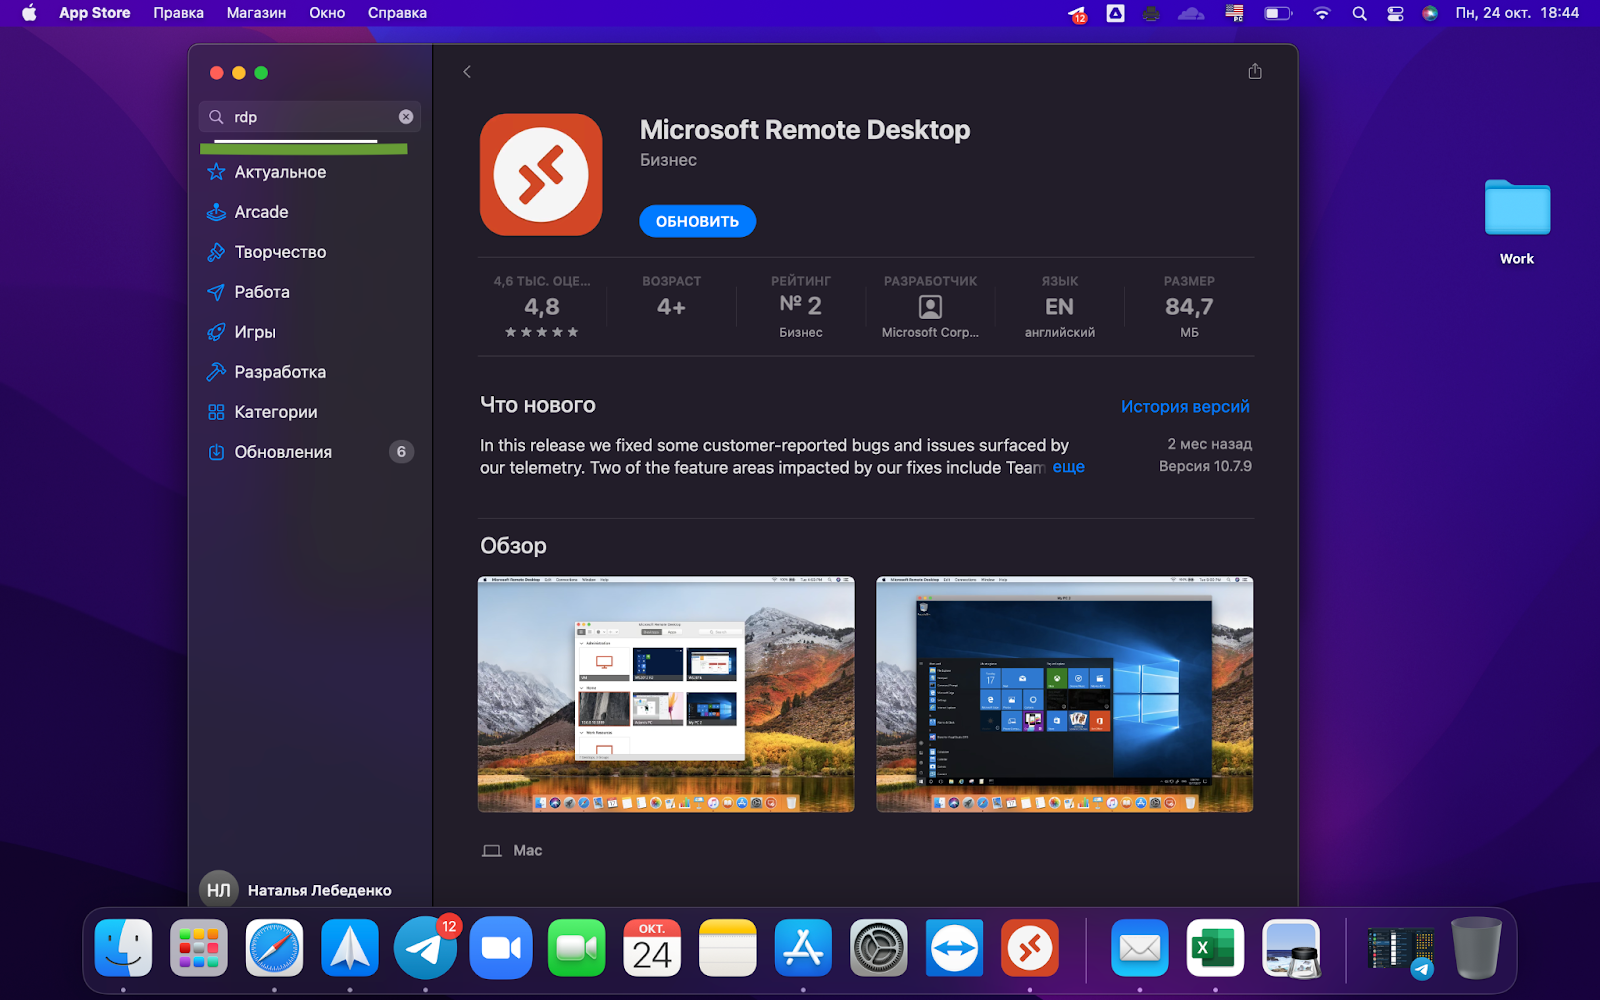
Step 1: Open the App Store. You can find it in the Dock or Launchpad.

Step 2: Search for “RDP” and select the Microsoft Remote Desktop client (the one with the red icon).
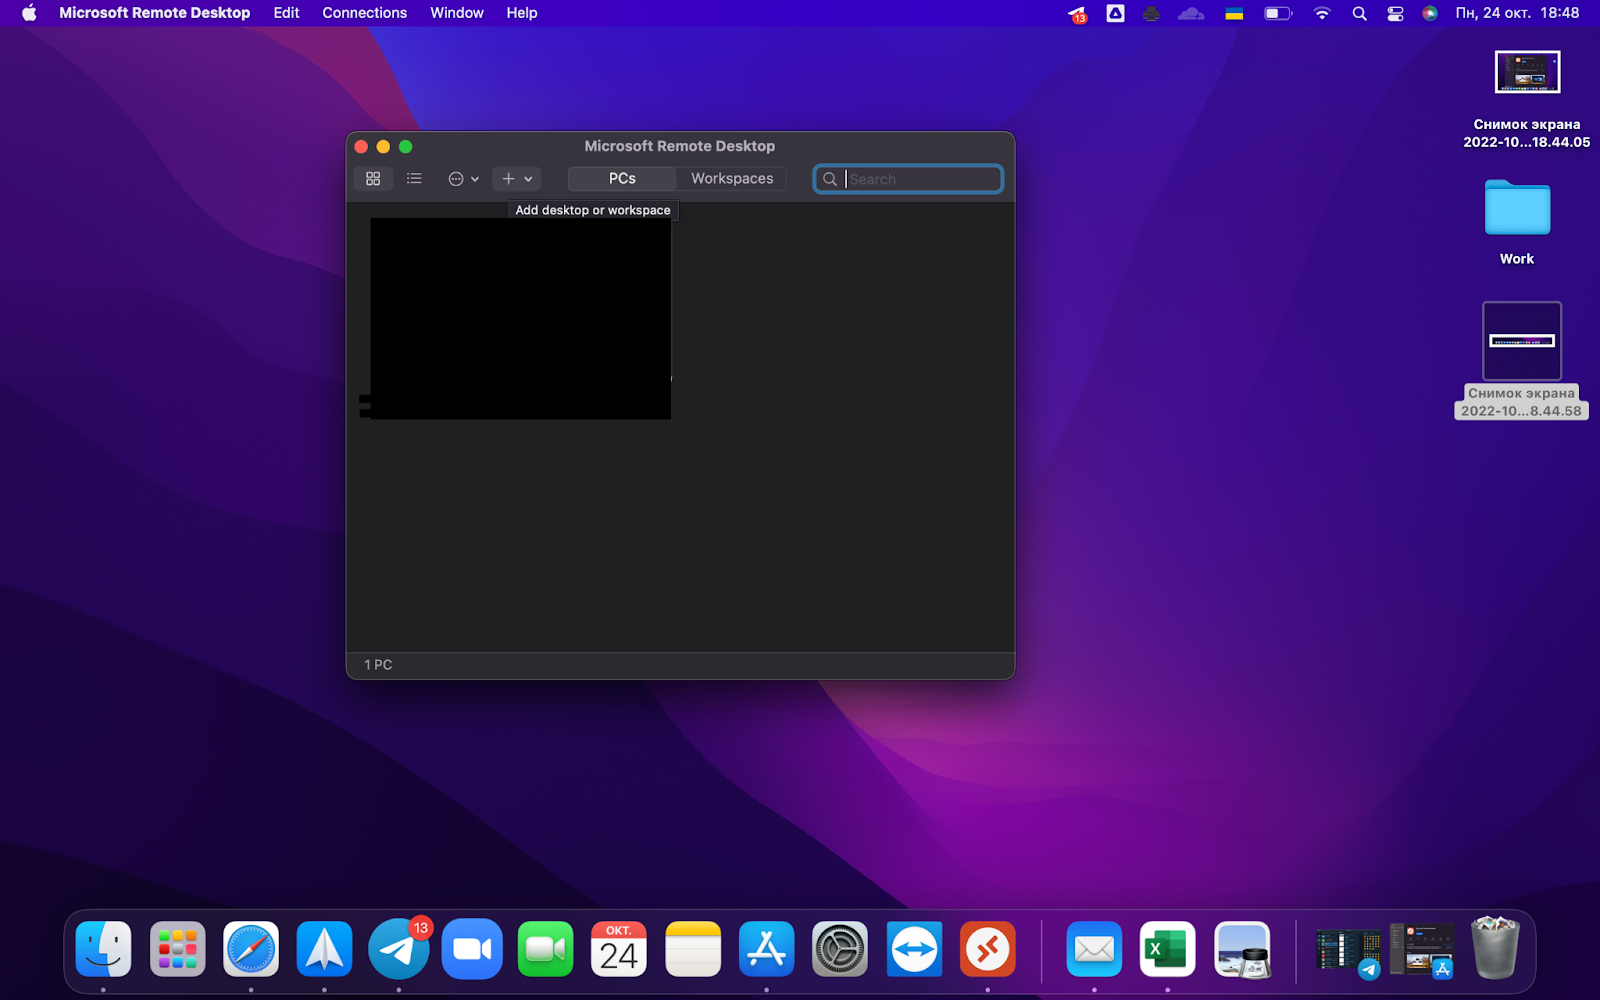
Step 3: After installation, open Microsoft Remote Desktop from Launchpad and click the “+” button to add a new desktop connection.
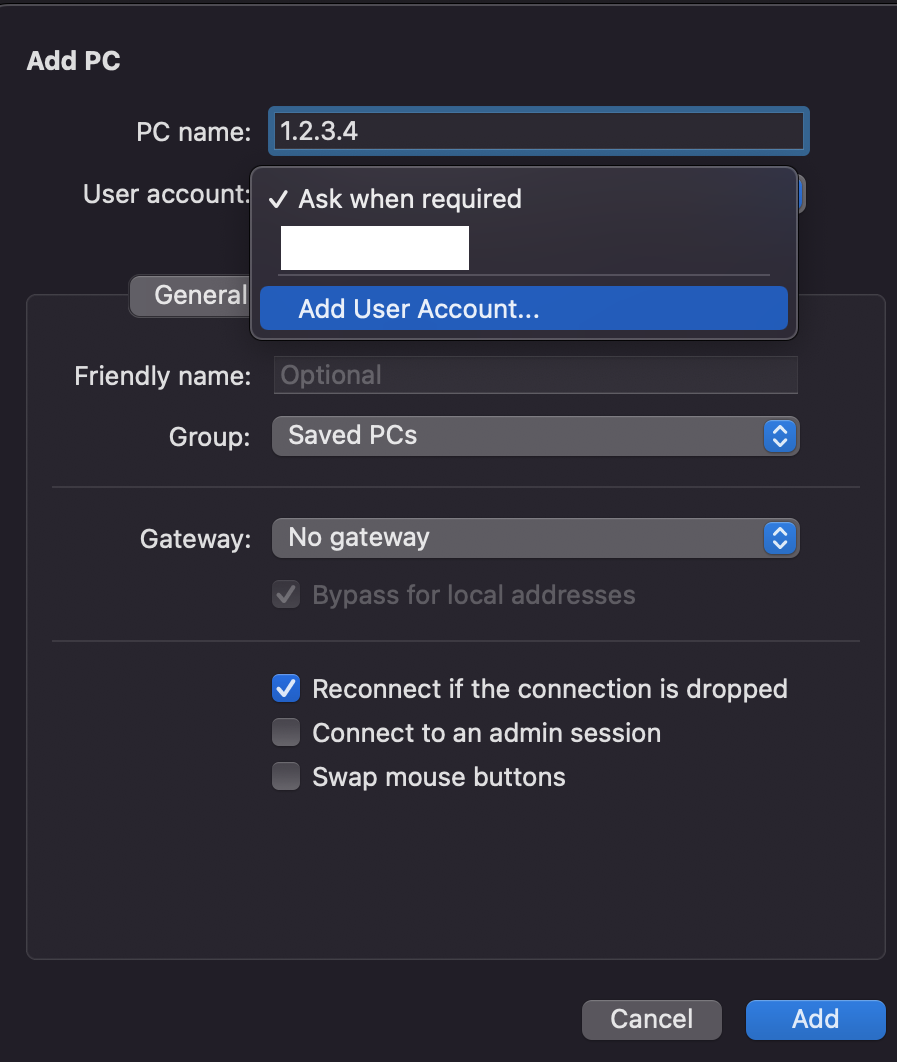
Step 4: Enter the IP address or hostname of the Windows server you want to connect to. Optionally, you can save your username and password for future connections (highly recommended).
That’s it! You should now be able to connect to your Windows server. However, if you are unable to connect, RDP might not be enabled on the Windows machine.
How to enable RDP on Windows 10?
Enabling RDP on Windows 10 is relatively easy.
Step 1: Press Win+S (Windows Key + S) and type “Remote Desktop Settings” and click on it.
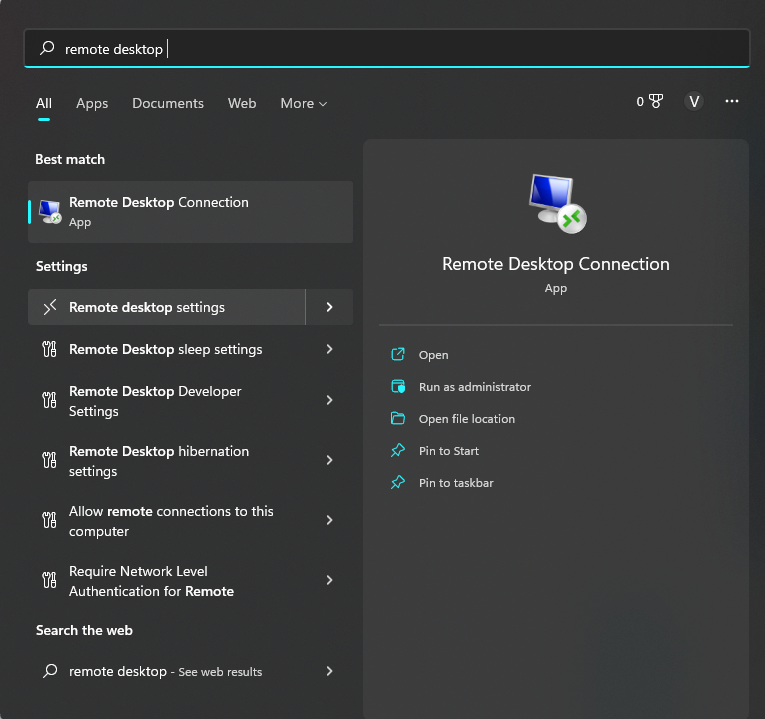
Step 2: Toggle the “Enable Remote Desktop” switch to the “On” position and confirm.
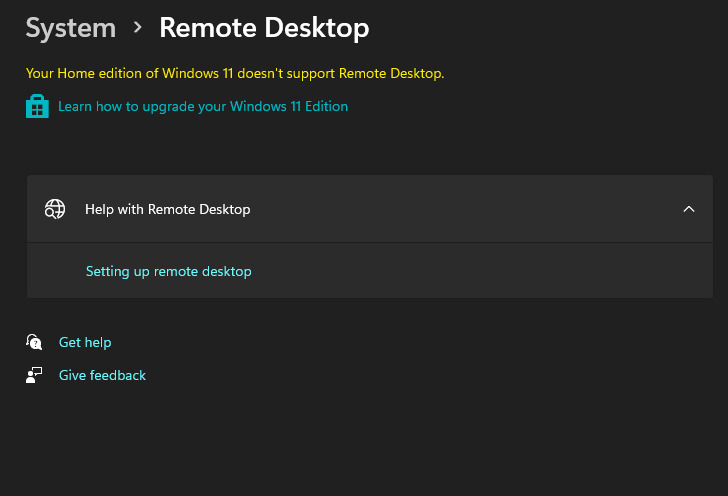
Note: Remote Desktop is only available on Windows 10 Pro and Enterprise editions. If you have Windows 10 Home, you’ll see a message indicating that you need to upgrade.
Improve the security of your RDP connection
It’s important to secure your RDP connection to prevent unauthorized access.
Complex passwords
Strong, complex passwords are essential. Use passwords that are 12-20 characters long and include a mix of uppercase and lowercase letters, numbers, and symbols. For example:
- B@Ntt9rCYcD!bdd
- FmZgBja-Dy2Jta.
- iCUk49T.6.9eJ7s
Such passwords are significantly harder to crack. The longer and more complex the password, the exponentially longer it takes to crack.
Conclusion
This guide provides a quick overview of how to set up a secure RDP connection from your Mac to a Windows server. Remember to prioritize security by using strong passwords. If you need a reliable Windows Server, consider using BlueVPS. 🙂
We’re available 24/7 via LiveChat.
Blog