
Install Active Directory on Windows Server 2012, 2016, and 2019
In this guide, we’ll walk you through the steps to install Active Directory on Windows Server 2012 R2 and up. Unlike previous versions where <kbd>DCPROMO.EXE</kbd> was used to install Active Directory, Microsoft now recommends using a different method. To install Active Directory on Windows Server 2012 and up, you need to follow these steps:
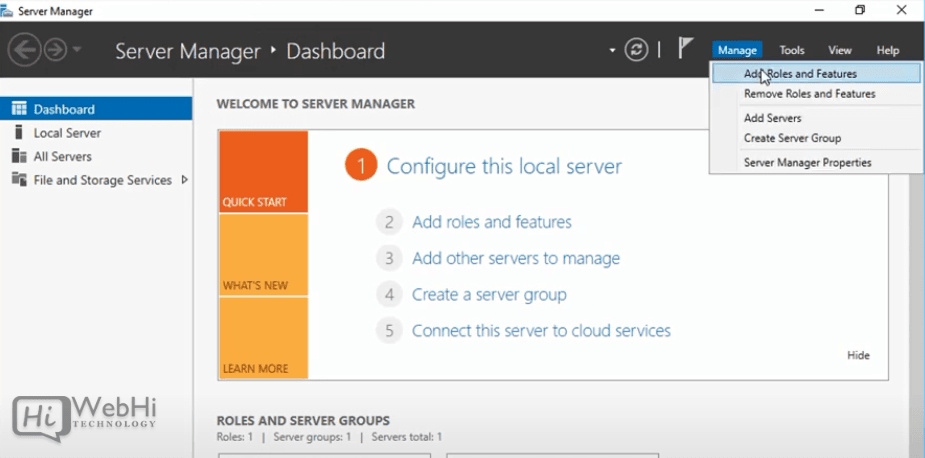
1 – Open “Server Manager” and select “Manage” → “Add Roles and Feature”.
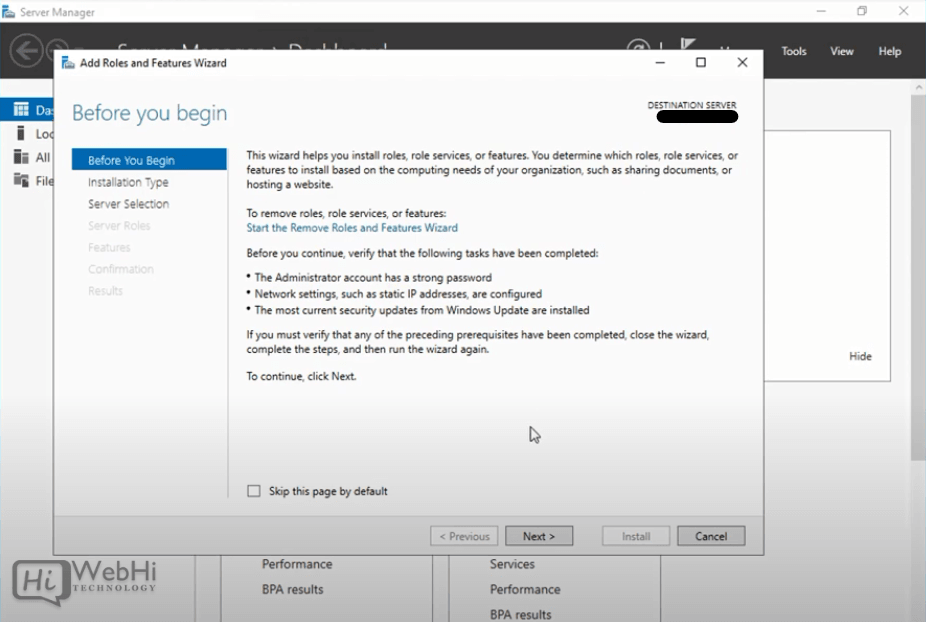
2 – Click “Next”.
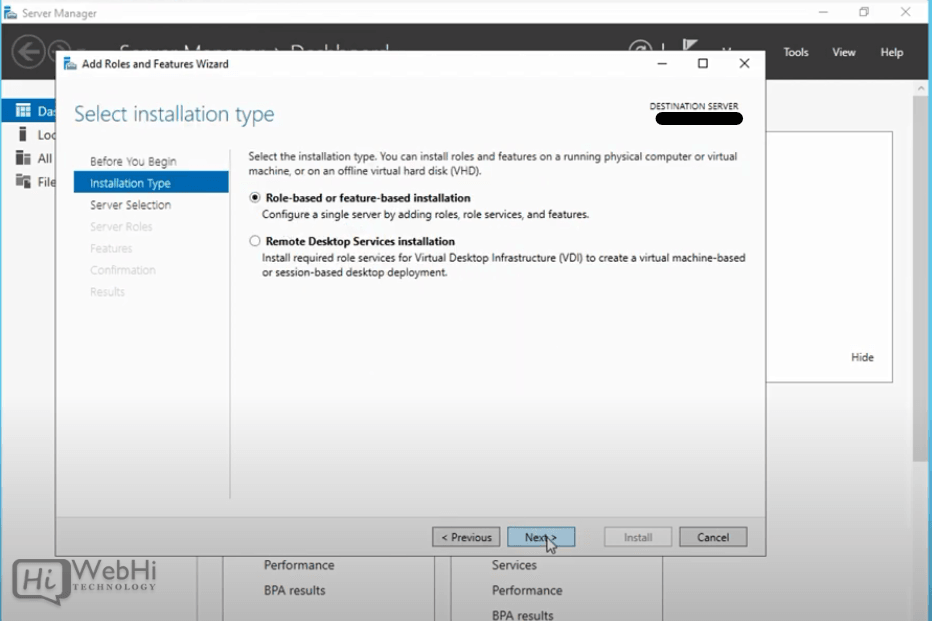
3 – Select “Role-based or feature-based Installation” and click “Next”.
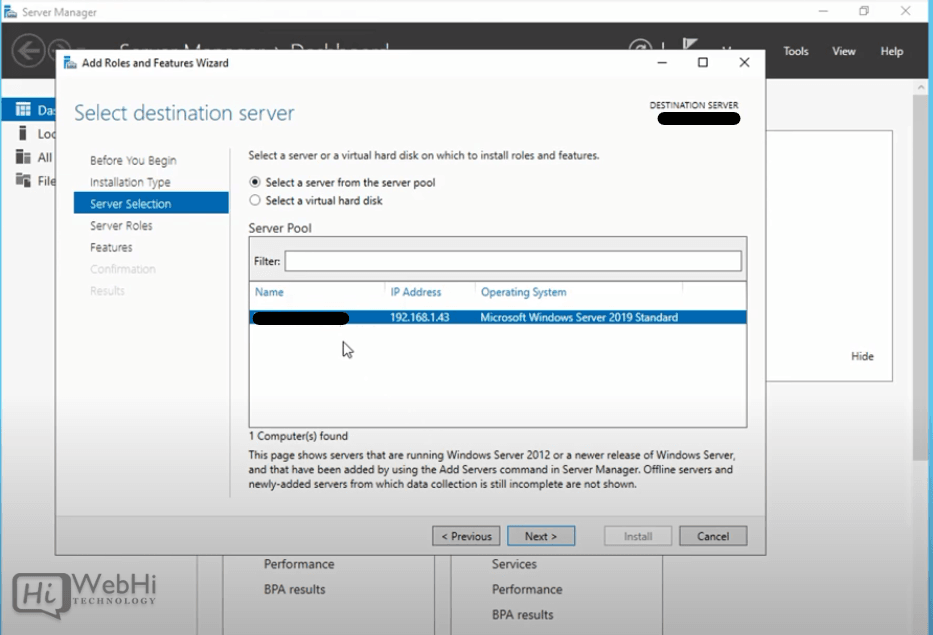
4 – Choose “Select a server from the server pool” if you’re installing locally.
5 – Check the box next to “Active Directory Domain Services”. A box will appear explaining additional roles services or features required for domain services.
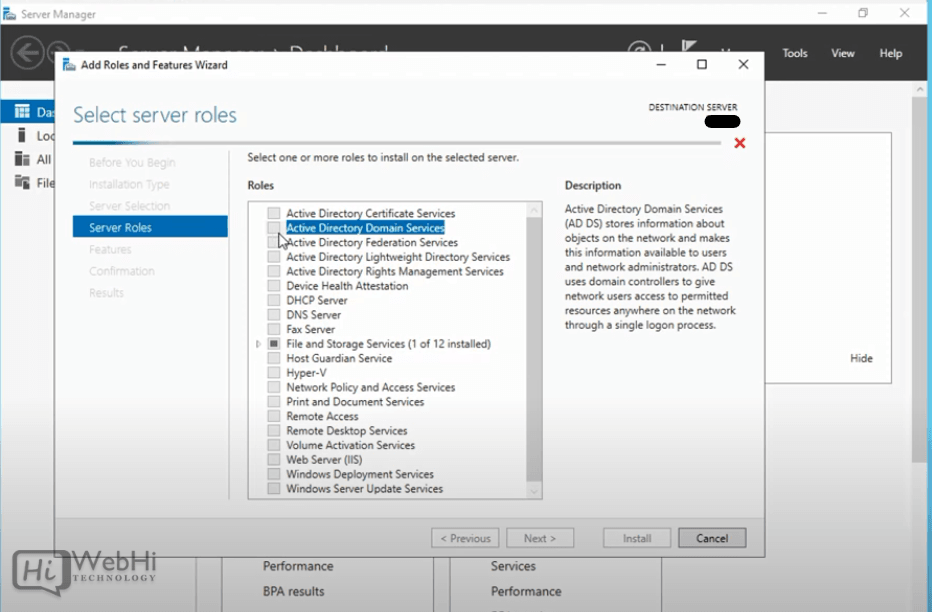
6 – Click Add Features.

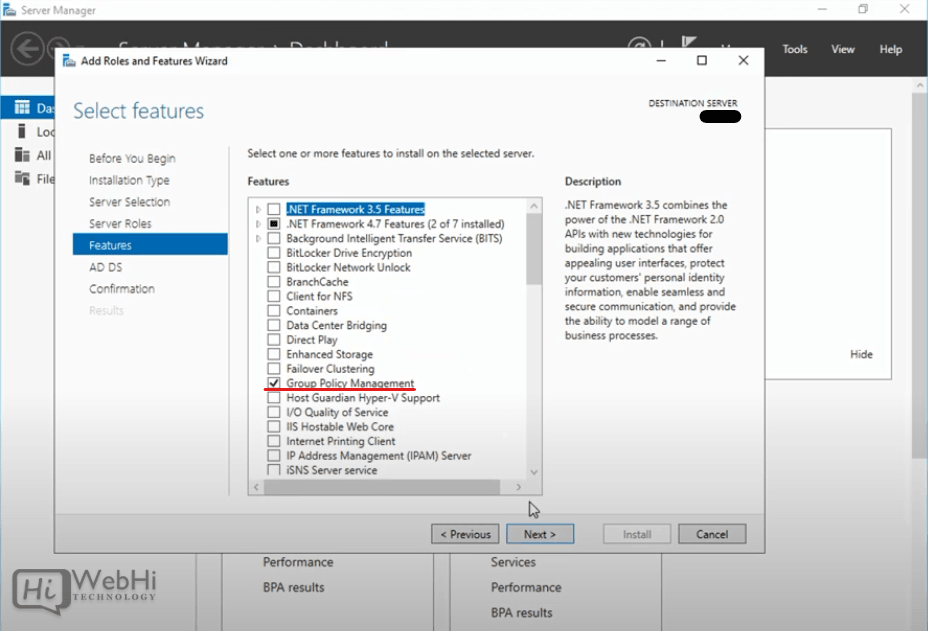
7 – Check “Group Policy Management” and click “Next”.
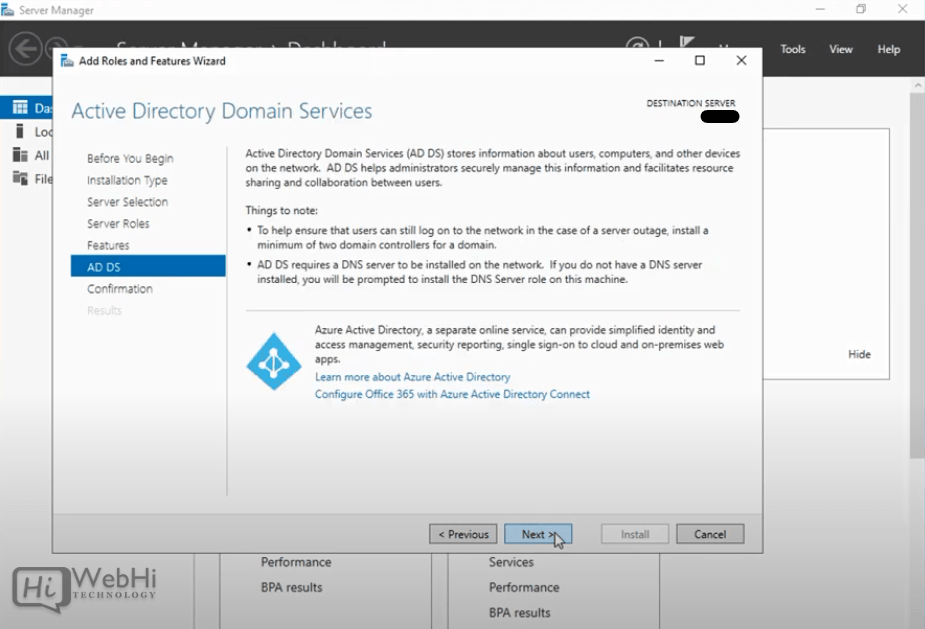
8 – Click “Next”.
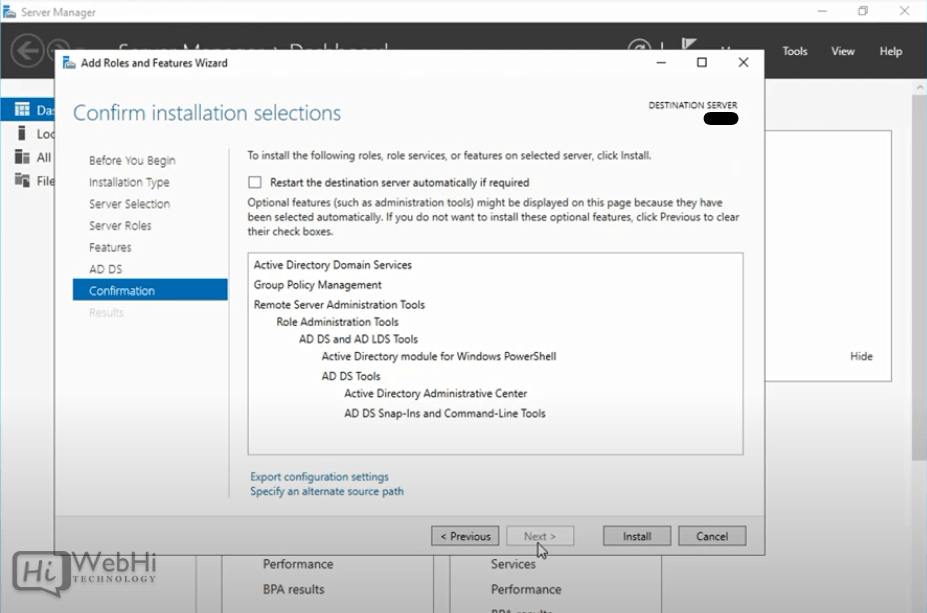
9 – Click “Install”.
Wait for the installation bar to complete.
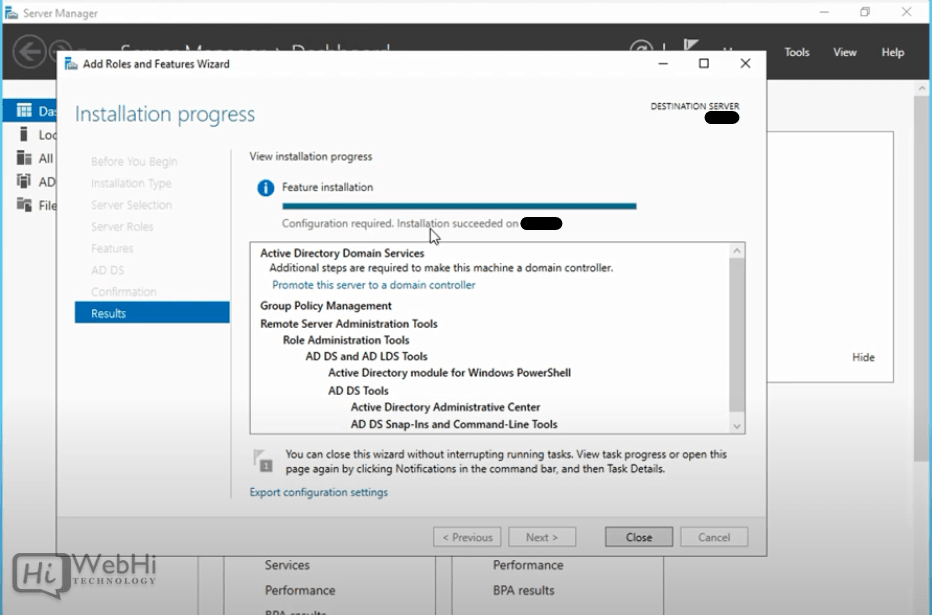
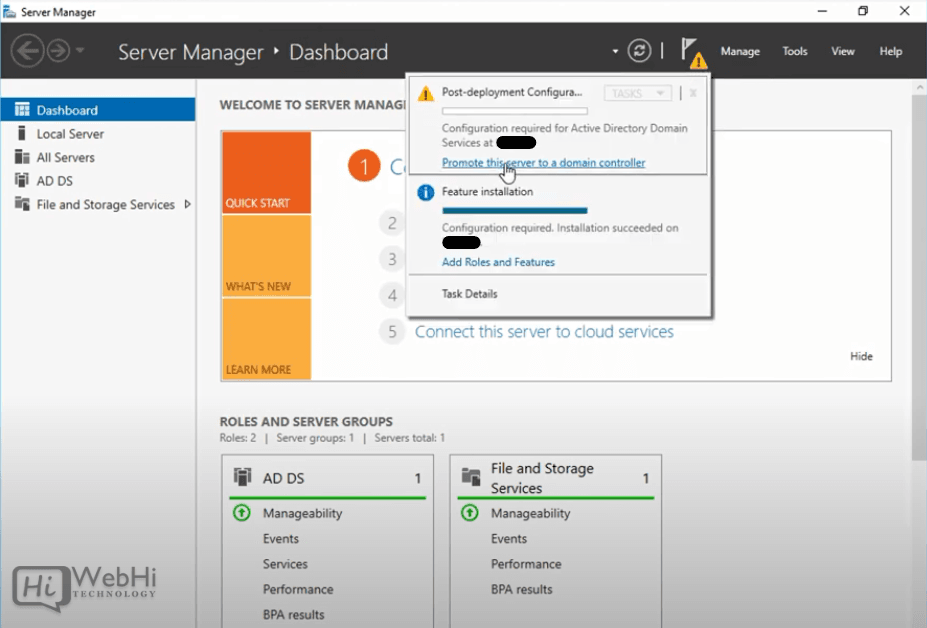
10 – Once installed, open the Notifications Pane in Server Manager by selecting the Notifications icon at the top of Server Manager. and select “Promote this server to a domain controller”.
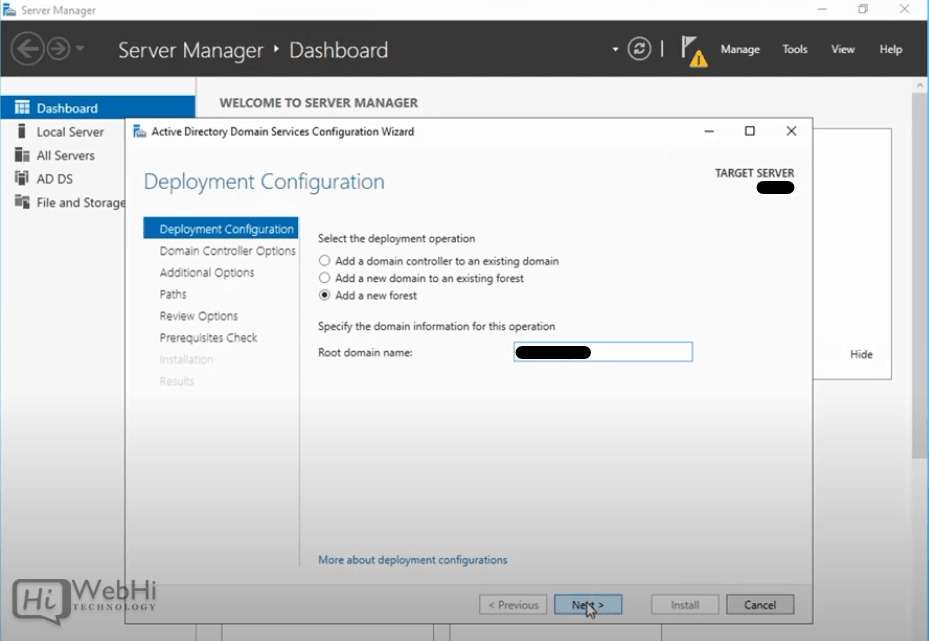
11 – Click on “Add a new forest” and enter your root domain name into the Root domain name field (e.g., “example.com”).
12 – Select a Domain and Forest functional level and enter a DSRM password in the provided password fields (used when booting into recovery mode).
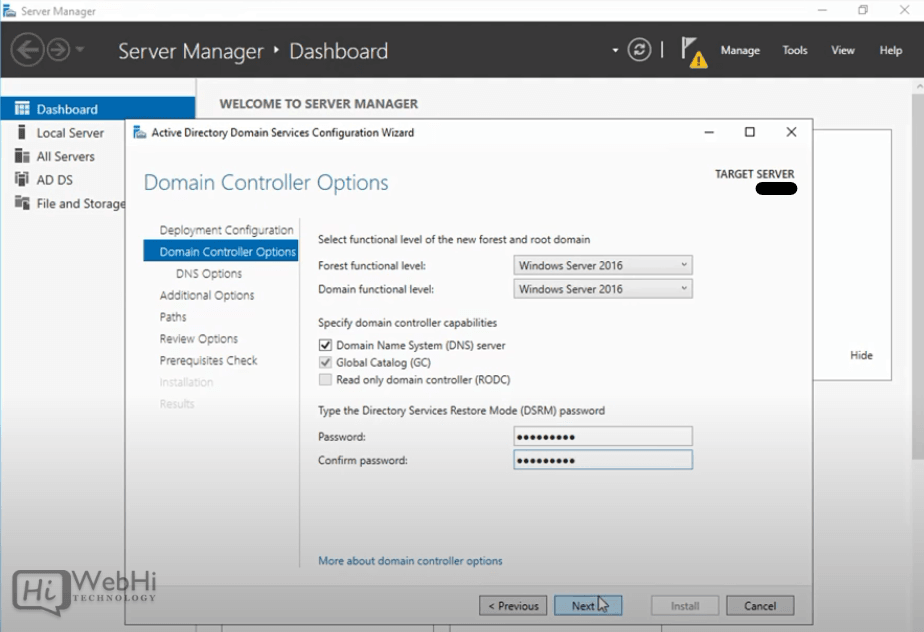
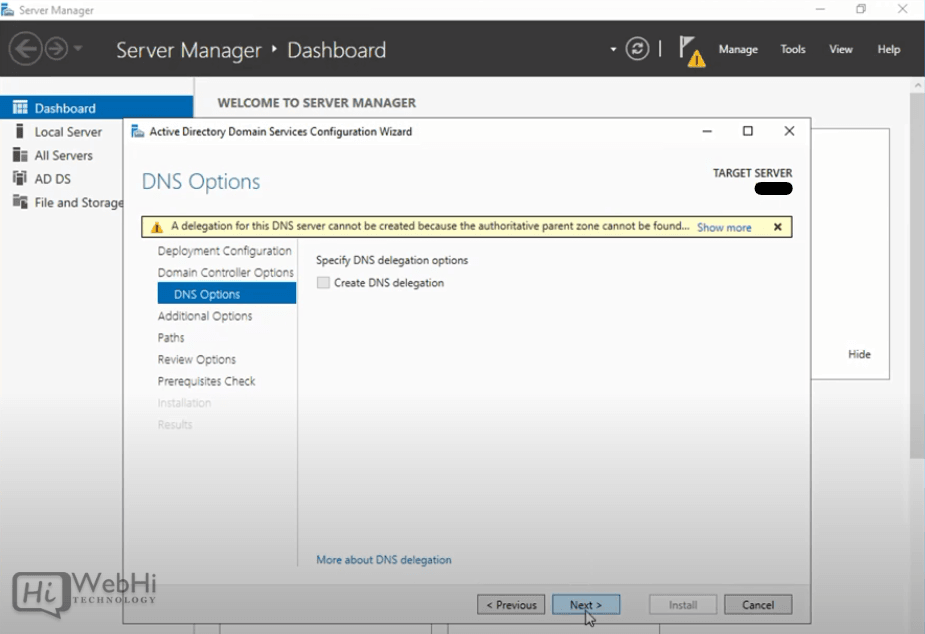
13 – On the DNS Options tab, click OK then Next.
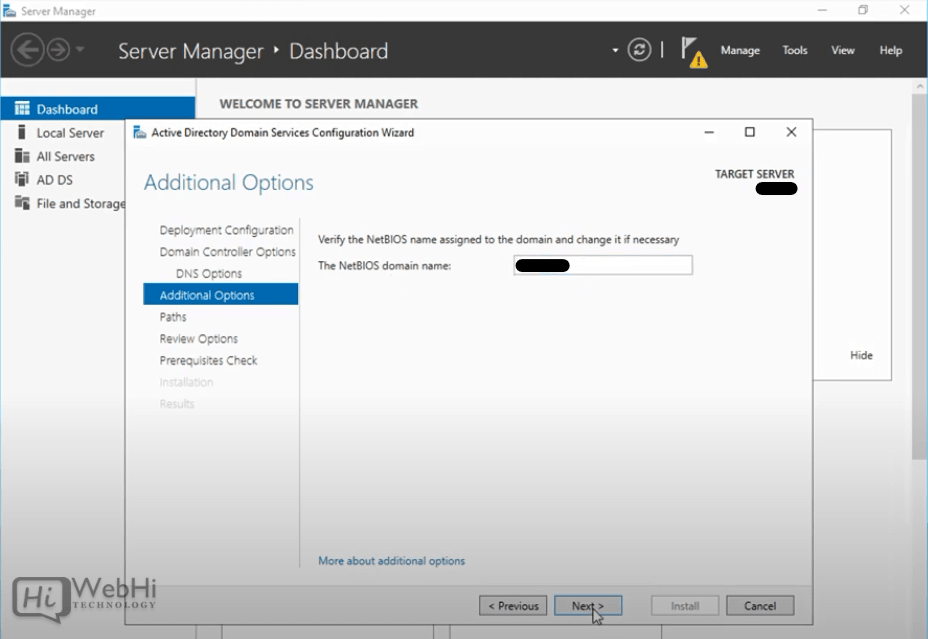
14 – Enter NETBIOS name and click “Next”.
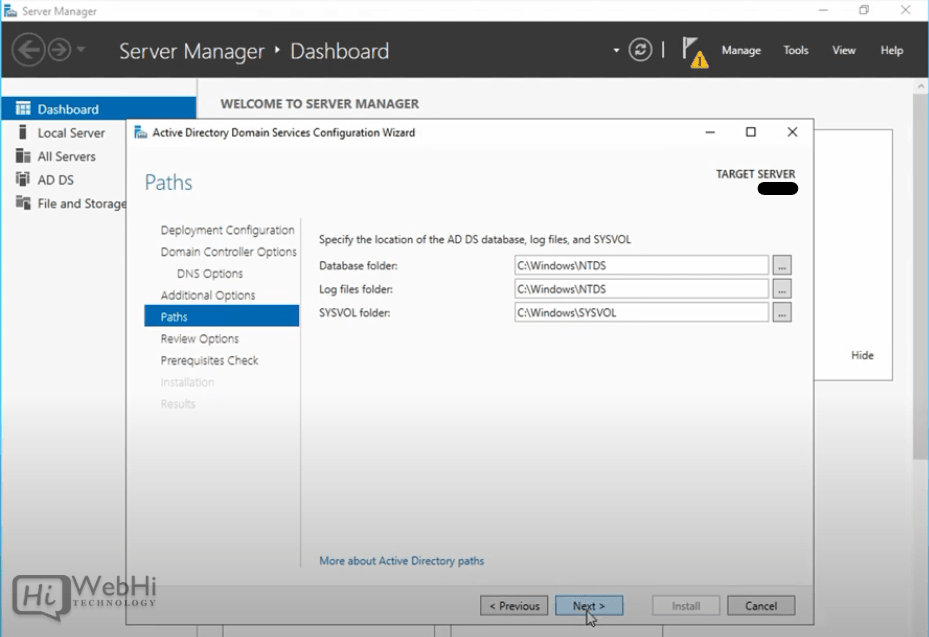
15 – Choose locations for SYSVOL, Log files, and Database folders then click Next.
16 – Click “Install” and wait for completion (the server will restart several times).
