How To Install and Enable SSH on Ubuntu
In Linux environments, security is crucial when connecting clients to servers. SSH (Secure Shell) is the preferred method for secure connections, allowing Linux users to remotely access and control servers effectively and robustly from any location.
This guide will walk you through the process of installing and enabling SSH on Ubuntu. We’ll also explore how to manage and configure the SSH service. Let’s get started!
What Is SSH?
SSH (Secure Shell) is a client-server protocol widely used for secure remote access to Linux/Unix servers and for executing commands. The SSH daemon (sshd) listens on TCP port 22 by default on Ubuntu. It encrypts all communication, offering various authentication methods for enhanced security, and replaces less secure protocols such as rlogin, rsh, telnet, and FTP. SSH ensures data remains encrypted during transmission, making remote data transfer and command execution secure.
Prerequisites
Before you begin, ensure you have the following:
- Access permissions to the remote computer you intend to connect to.
- A stable internet connection to download necessary packages.
- Another accessible system on your network (e.g., another computer, a remote server, or a virtual machine).
- Terminal access with sudo or root privileges.
Installing SSH on Ubuntu (Step-By-Step)
Here’s how to install SSH on your Ubuntu system:
Step 1: Update and Upgrade Packages
Open your terminal. It’s a good practice to update your package lists before installing new software. Run the following command:
$ sudo apt-get update
Now, upgrade your installed packages to the latest versions:
$ sudo apt-get upgrade
Step 2: Install the SSH Client
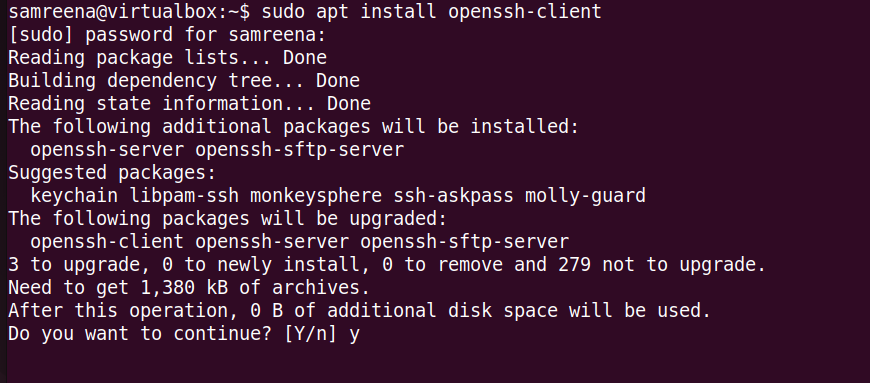
To connect to remote servers via SSH, you need the ‘openssh-client’ package. Install it with:
$ sudo apt-get install openssh-client
Step 3: Install the SSH Server
To allow incoming SSH connections to your Ubuntu system, install the ‘openssh-server’ package:
$ sudo apt install openssh-server
Once the server is installed, you can connect to it from a remote system using the following command in the client terminal:
$ ssh user@server-ip
Enabling SSH on Ubuntu
To ensure SSH starts automatically on boot, enable the service:
$ sudo systemctl enable ssh
Next, configure your firewall to allow SSH traffic. If you are using UFW, enable it and allow SSH connections (port 22):
$ sudo ufw allow ssh
Congratulations, you have successfully installed and enabled SSH on your Ubuntu server! You can now connect securely using an SSH client.
Managing the SSH Service on Ubuntu
You can manage the SSH service using the systemctl command:
To start the service:
$ sudo systemctl start ssh
To stop the service:
$ sudo systemctl stop ssh
To restart the service:
$ sudo systemctl restart ssh
To check the service status:
$ sudo systemctl status ssh
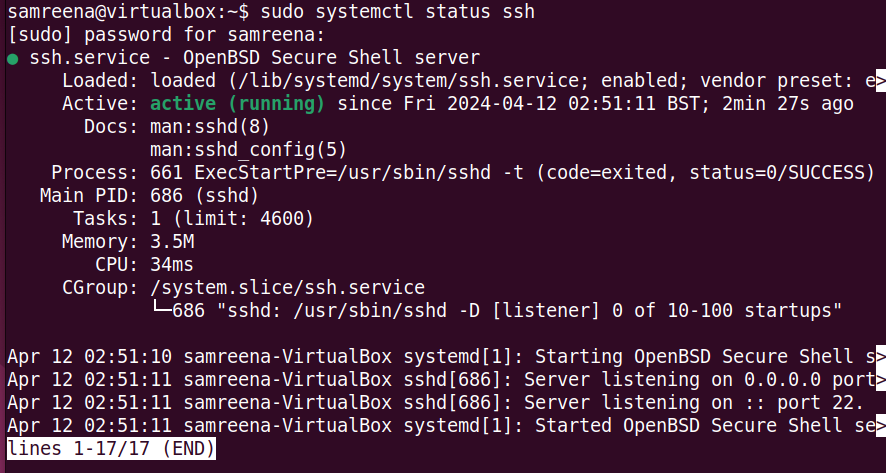
This command provides details about the SSH service, including its running status and any detected errors.
Connecting to a Remote Server Using SSH
To connect to a remote server, open the Terminal (CTRL+ALT+T) and use the following command:
$ ssh username@public_IP
Replace “username” with your username on the remote server and “public_IP” with the server’s IP address.
To quickly find the server’s IP address, use:
$ ip a
Look for the public IP address within the output.
Share this:

