Mastering Hyper-V: Setting up Virtual Environments on Windows Server
Introduction
Hyper-V is Microsoft’s native hypervisor for running virtual machines on Windows. With Hyper-V, you can create and manage virtual environments on Windows Server to efficiently utilize your hardware resources and provide flexibility for different workloads. **Mastering Hyper-V** is crucial for modern IT infrastructure management.
In this comprehensive guide, we will walk you through the entire process of setting up and managing Hyper-V virtual environments on Windows Server. We will cover the basics of Hyper-V architecture, creating your first virtual machine, networking configuration, storage options, virtual machine management, backup and disaster recovery, security considerations, and more.
By the end of this guide, you will have the skills and knowledge needed to create and optimize virtual environments with Hyper-V on Windows Server. Whether you need to set up test environments, consolidate servers, run legacy workloads, or provide infrastructure for developers – Hyper-V provides a robust and cost-effective virtualization solution. This article is about **Mastering Hyper-V**.
Prerequisites
Before we begin setting up Hyper-V, let’s go over the prerequisites:
* A server running Windows Server (e.g., 2016, 2019, 2022).
* Sufficient hardware resources (CPU, RAM, storage) to support the host OS and virtual machines.
* A user account with administrator privileges.
* BIOS/UEFI settings enabled for virtualization (Intel VT-x or AMD-V).
Enable Hyper-V Role
The first step is to enable the Hyper-V role on your Windows Server installation.
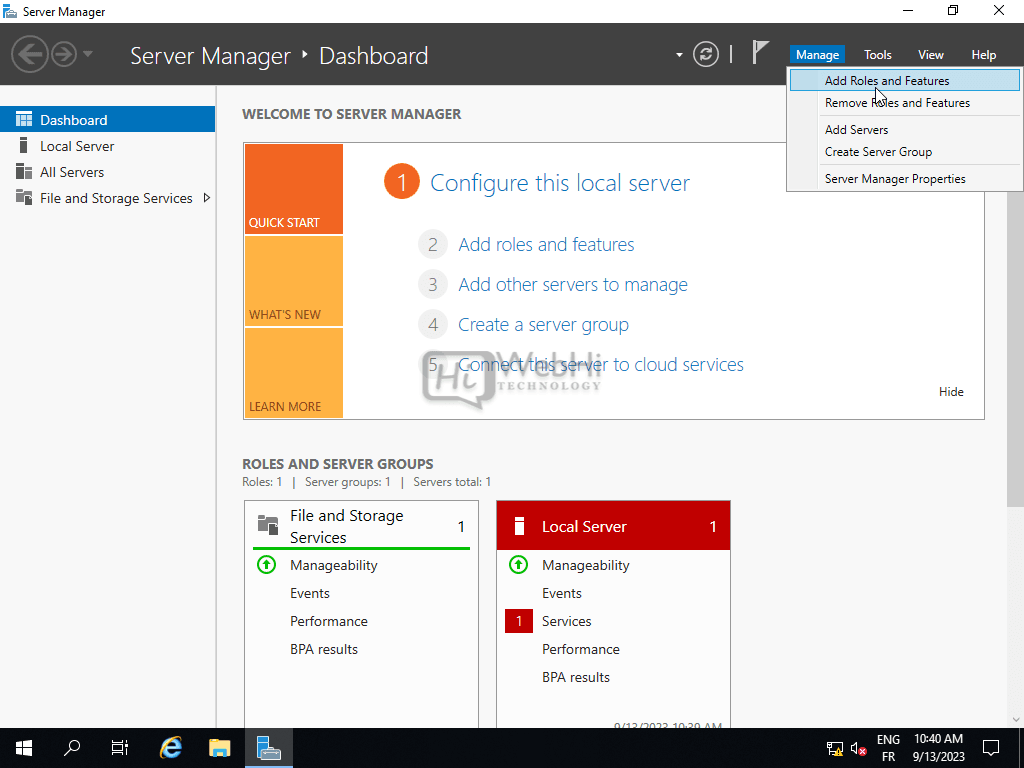
1. Open Server Manager.
2. Click “Add roles and features”.
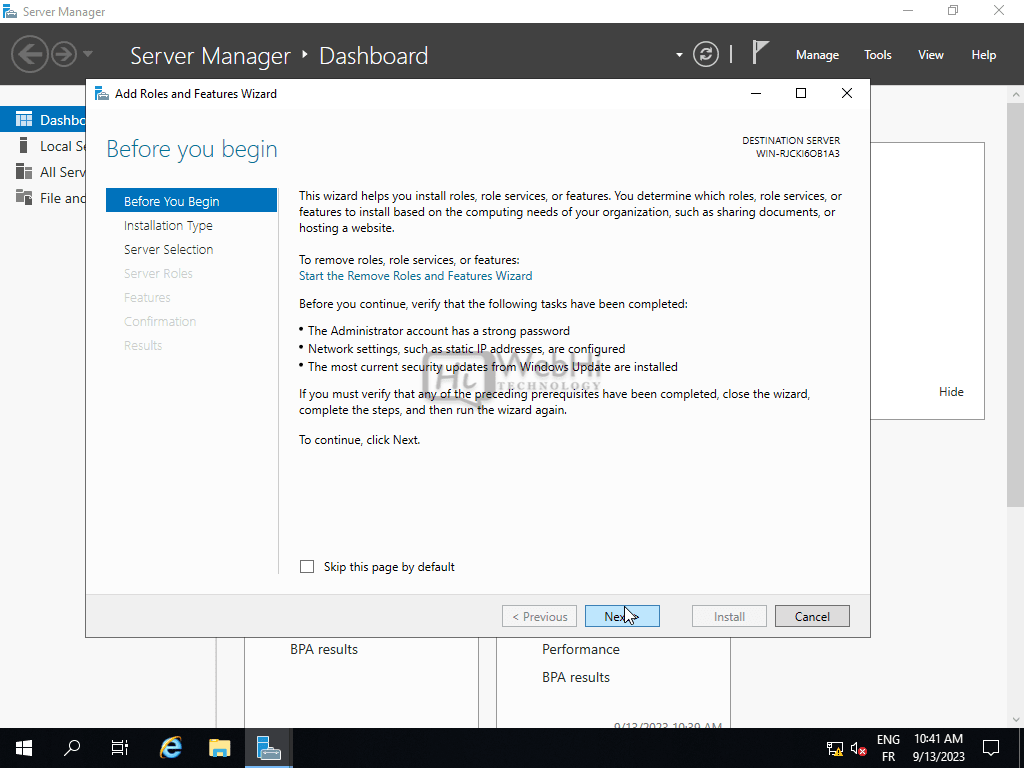
3. In the “Add Roles and Features Wizard”, select “Role-based or feature-based installation”.
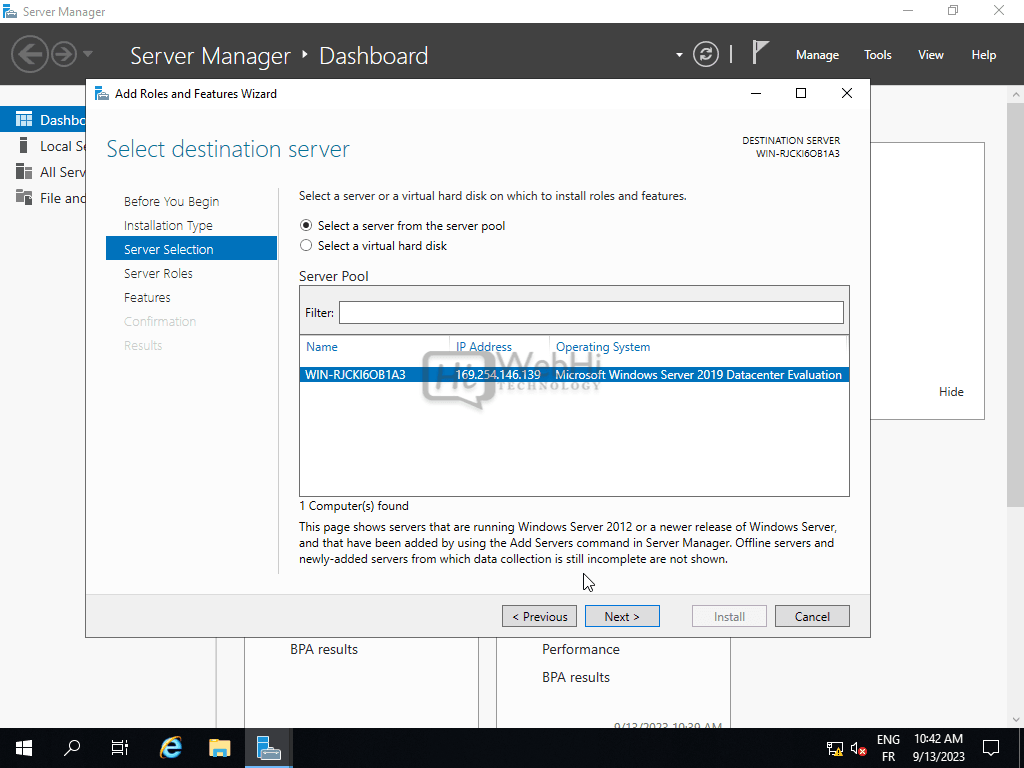
4. Select your server from the server pool.

5. Select your server from the server pool.
6. In the “Select server roles” page, check the box next to “Hyper-V”.
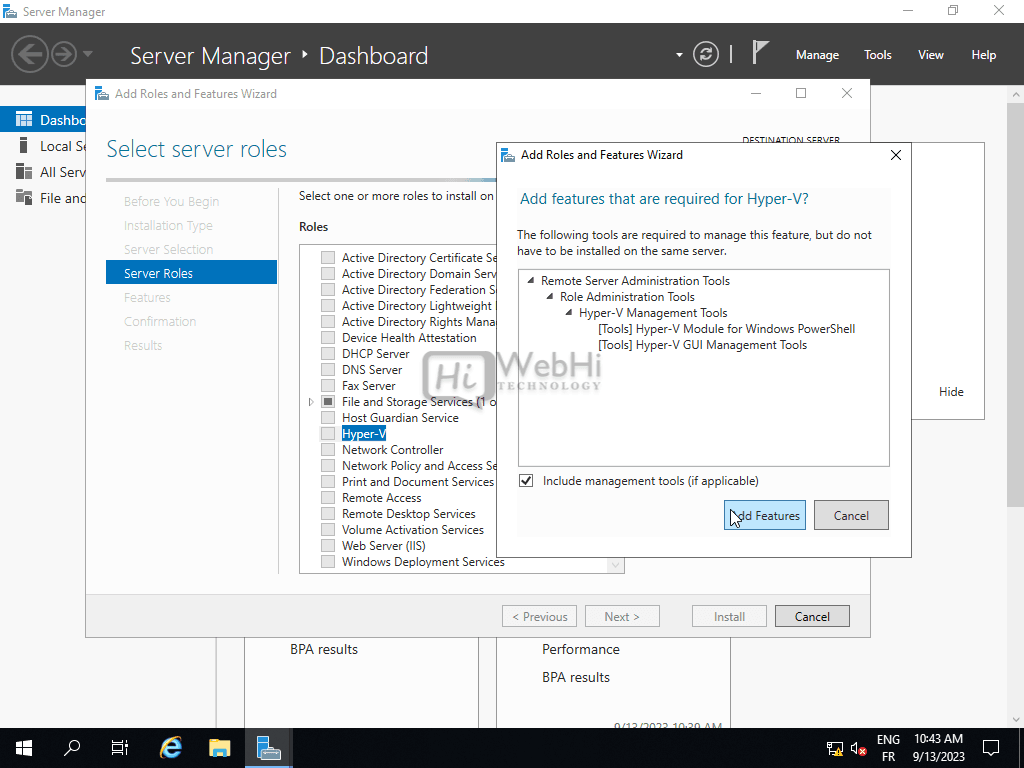
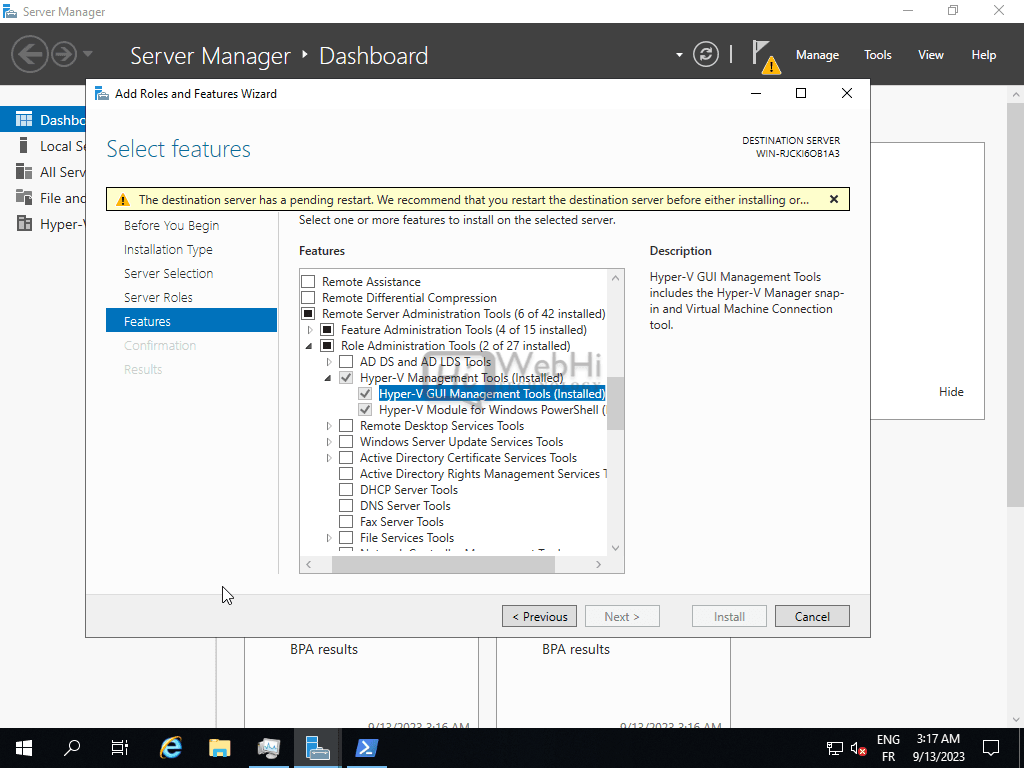
7. Add any required features.
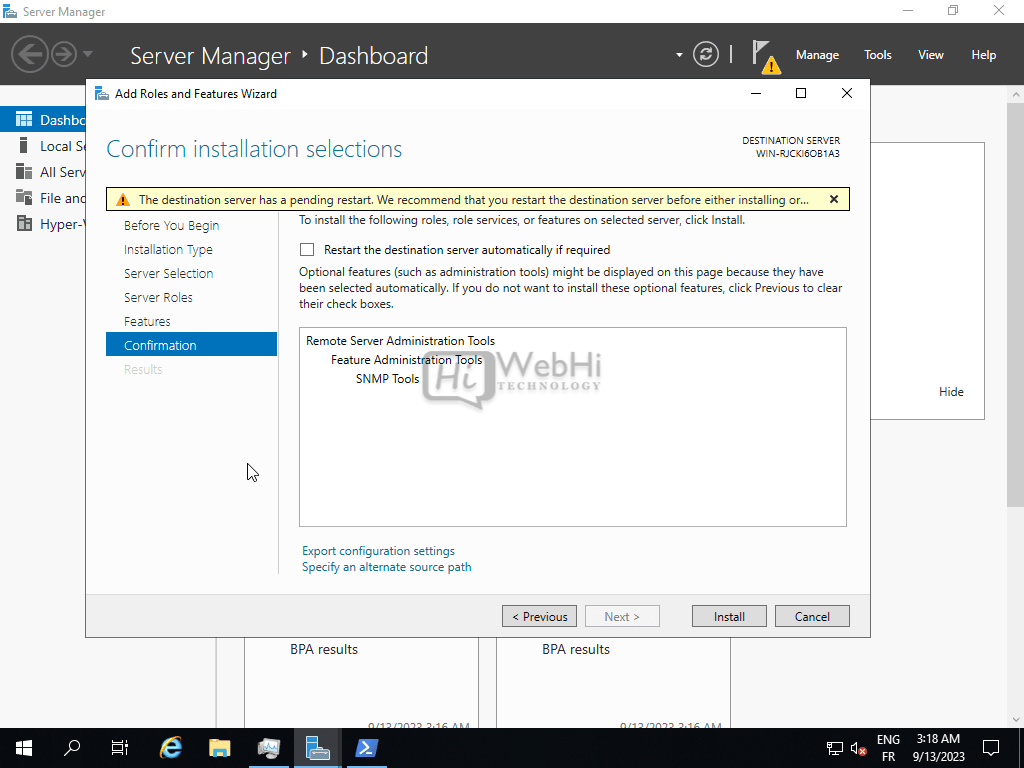
8. Review the confirmation page and click “Install”. You may need to restart the server after installation.
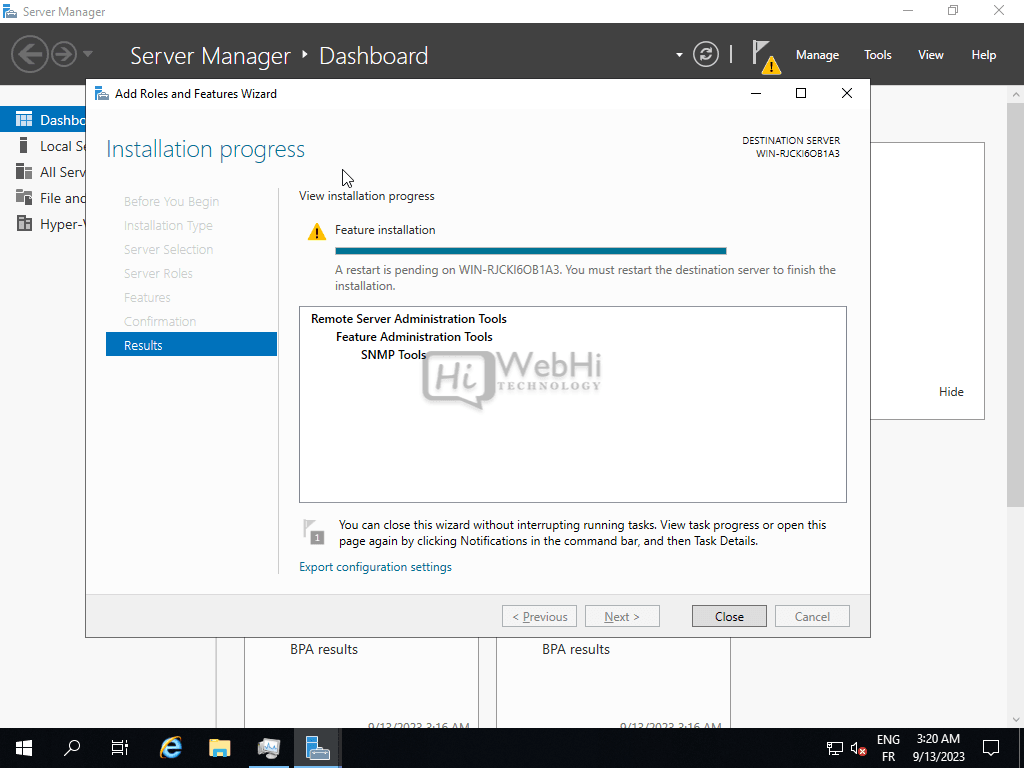
Hyper-V role and management tools are now installed and ready to be configured.
Create Virtual Switch
Before creating any virtual machines, we need to set up a virtual network switch to connect the VMs to. This virtual switch acts similarly to a physical switch, providing network connectivity and routing for virtual machines.
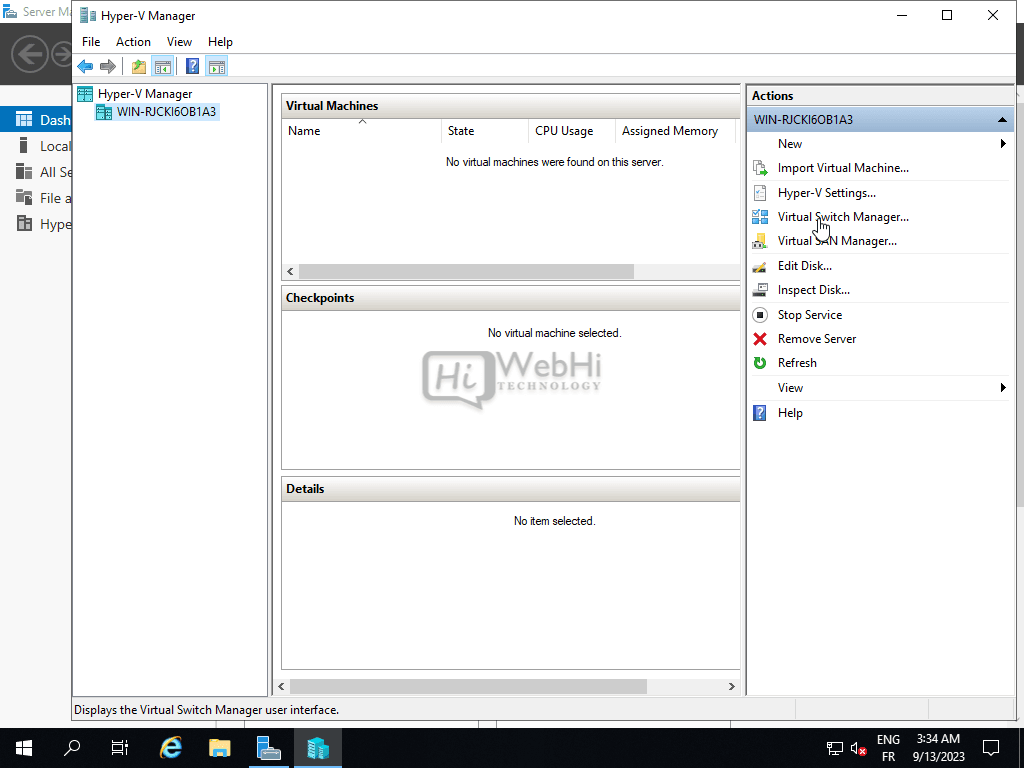
1. Open Hyper-V Manager (search for “Hyper-V Manager” in the Start menu).
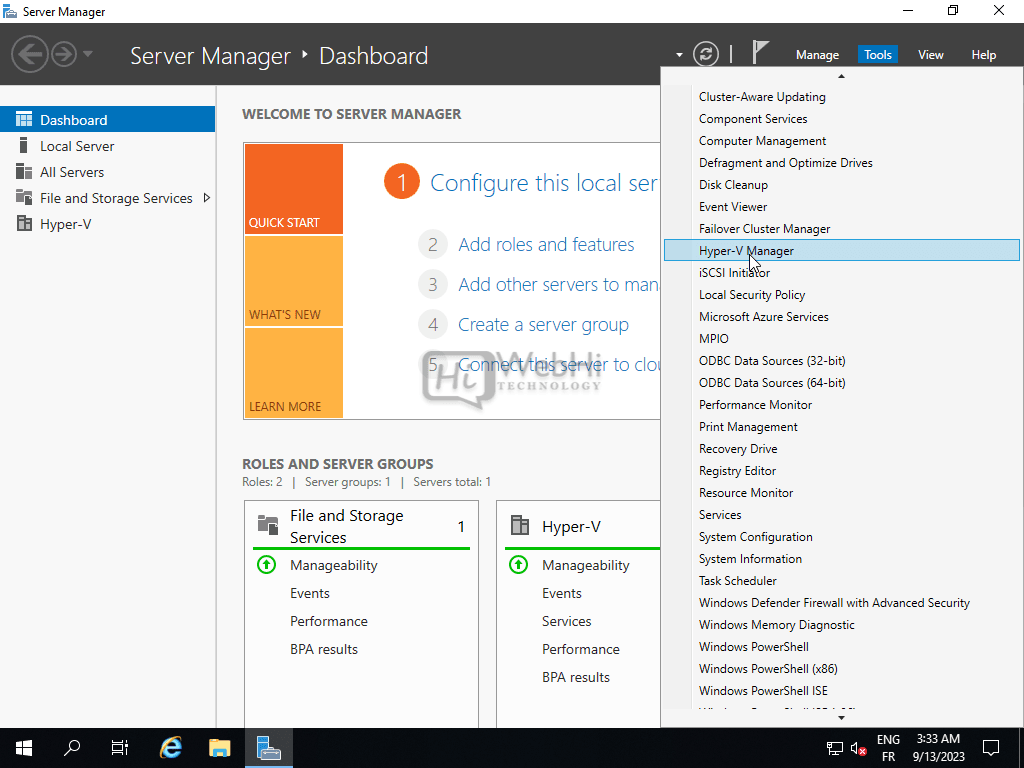
2. In the Actions pane (right side), click “Virtual Switch Manager”.
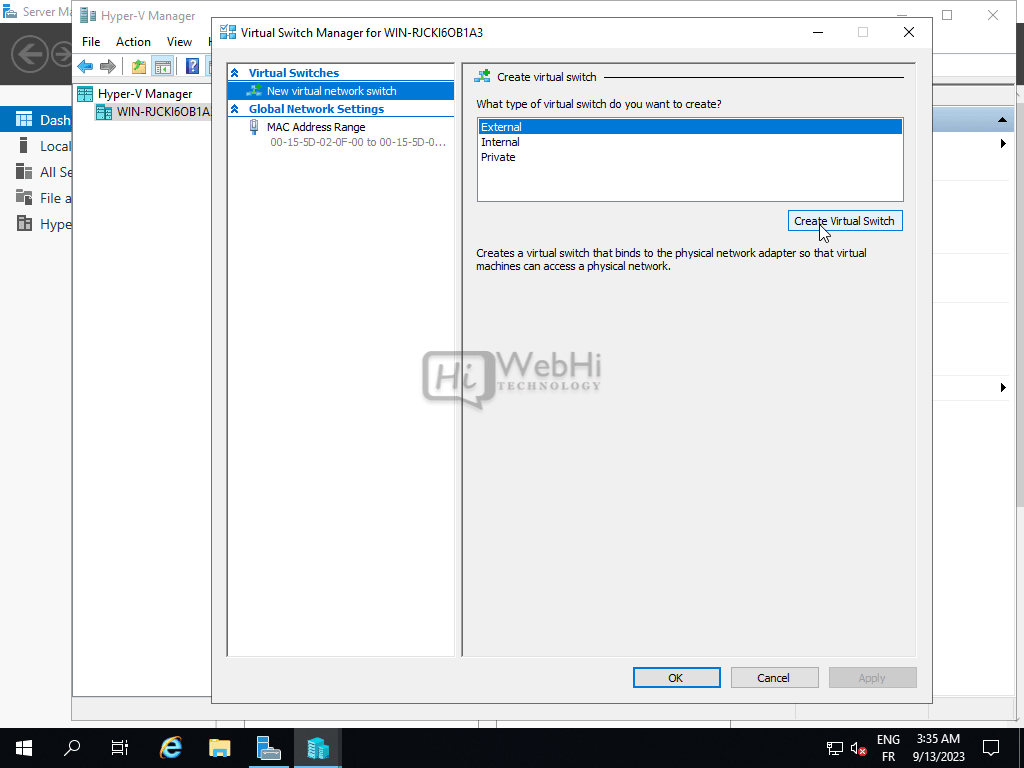
3. Select the type of virtual switch you want to create:
* **External:** Connects to a physical network adapter, allowing VMs to communicate with the external network.
* **Internal:** Creates a network that only VMs on the host can use, along with the host itself.
* **Private:** Creates a network that only VMs on the host can use.
4. Select “External” and click “Create Virtual Switch”.
5. Give the virtual switch a name (e.g., “ExternalSwitch”).
6. Select the physical network adapter that the virtual switch will be bound to.
7. Click “OK”.
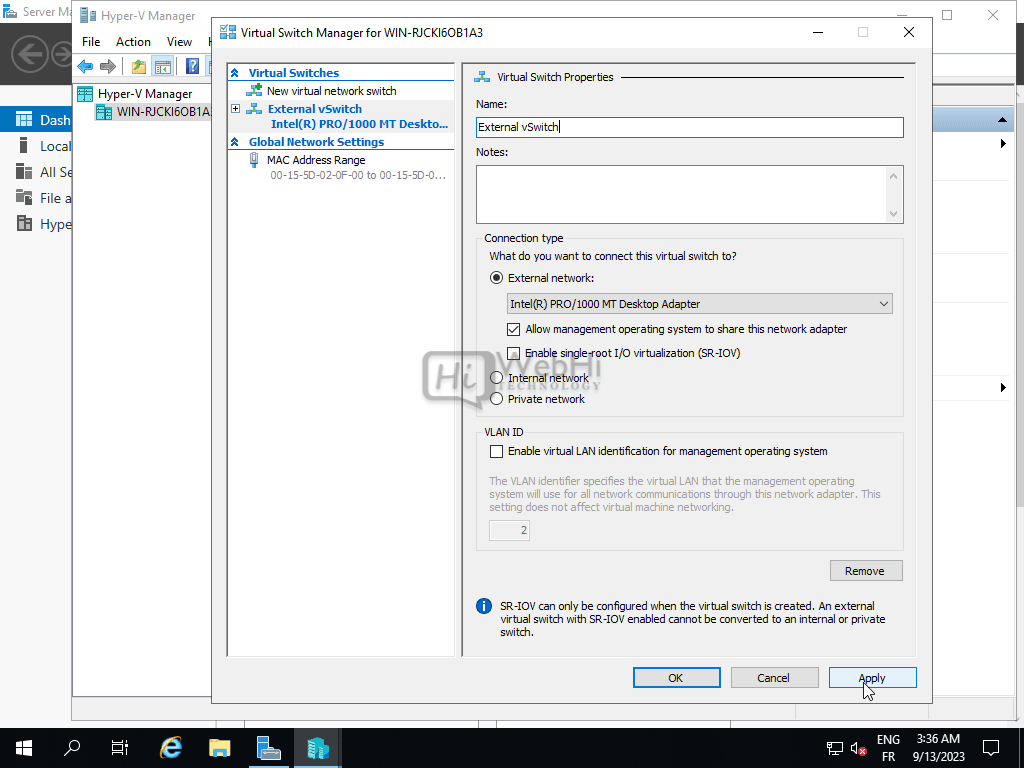
We now have a virtual switch set up that can route traffic between the virtual machines and the physical network.
Create Virtual Machine
Now we can create our first virtual machine using the Hyper-V Manager console. **Mastering Hyper-V** means understanding VM creation.
1. In Hyper-V Manager, right-click on your server and select “New” -> “Virtual Machine”.
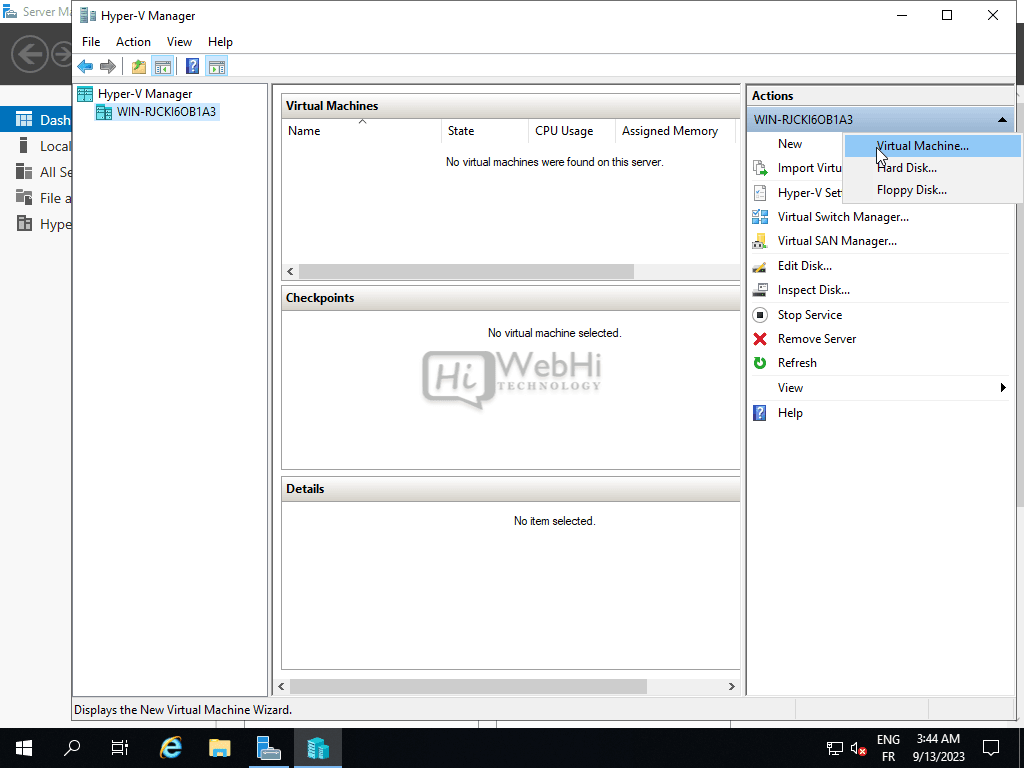
2. In the “New Virtual Machine Wizard”, click “Next”.
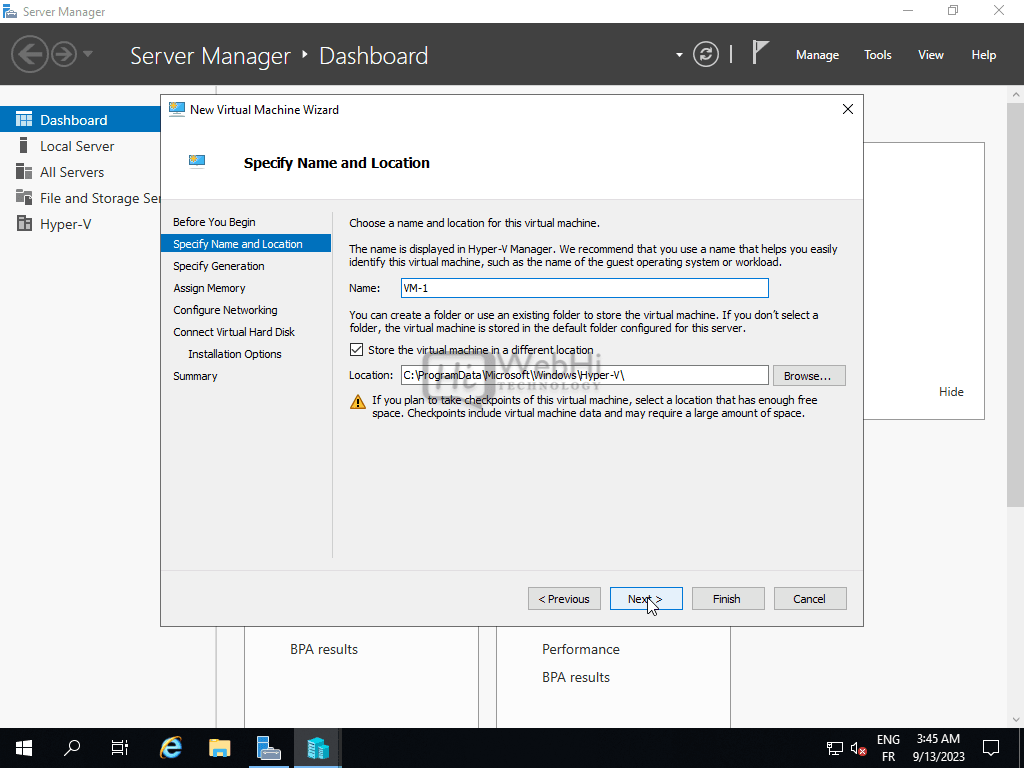
3. Specify a name for the virtual machine (e.g., “MyVM”) and click “Next”.

4. Choose the generation of the virtual machine (Generation 1 or Generation 2). Generation 2 is recommended for newer operating systems and hardware, but ensure compatibility. Click “Next”.