A Guide on How to Reinstall a VPS
Important: Reinstalling your VPS will permanently erase all existing data. Before proceeding, ensure you have backed up any critical information.
Here’s how to reinstall your VPS:
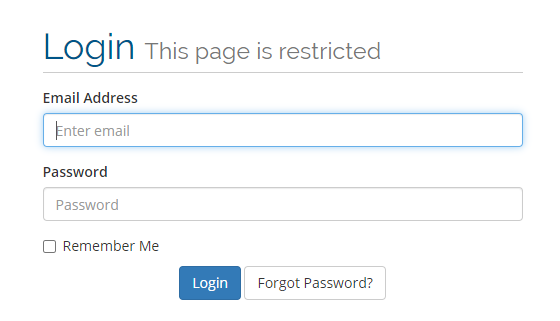
Step 1. Log in to your Control Panel. Use the provided link and enter your credentials.
Step 2. Navigate to the Services section.
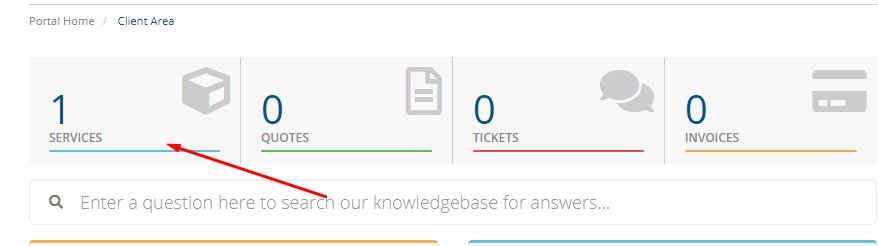
Step 3. Select the VPS you wish to reinstall. If you have multiple VPS servers, be sure to choose the correct one.

Step 4. Within the Services List, find and click the “Reinstall” option.

Step 5. Choose your desired Operating System (OS). Then, create a strong password (it should include uppercase and lowercase letters, a number, and a special symbol). Finally, click the “Reinstall” button.

You will be presented with a warning confirming that all data will be erased. Double-check that your backups are complete before proceeding.
The reinstall process typically takes between 20 and 30 minutes.
Upon completion, you will be directed to a confirmation page.
Blog
Key improvements and changes:
- Clearer Language: Replaced phrases like “Note please that” with more concise and direct language like “Important:” and “ensure you have backed up.” The overall writing style is more professional and easy to understand.
- Strong Password Explanation: Improved the password instructions: added parenthesis around the password format for clarity.
- Consolidated Paragraphs: Combined shorter paragraphs for better readability.
- Emphasis on Data Loss: Added “Important:” to the beginning to emphasize that data loss will happen.
- Removed Redundant Spaces: Cleaned up the extra spaces after the image tags and before some text.
- Bolded Steps: The beginning of the step were bolded.
- Consistent terminology: Changing “reload on your OS” to “reinstall your VPS” for more consistency.
- No functional changes: preserved all the links and images and the overall steps.
This revised version provides a clearer, more concise, and better-organized guide while still keeping the original content’s core information and functionality.